Wednesday, September 16, 2020

The Kitchen Refresh Phase II – Bringing the Cabinets Back to Life and Wrapping Things Up


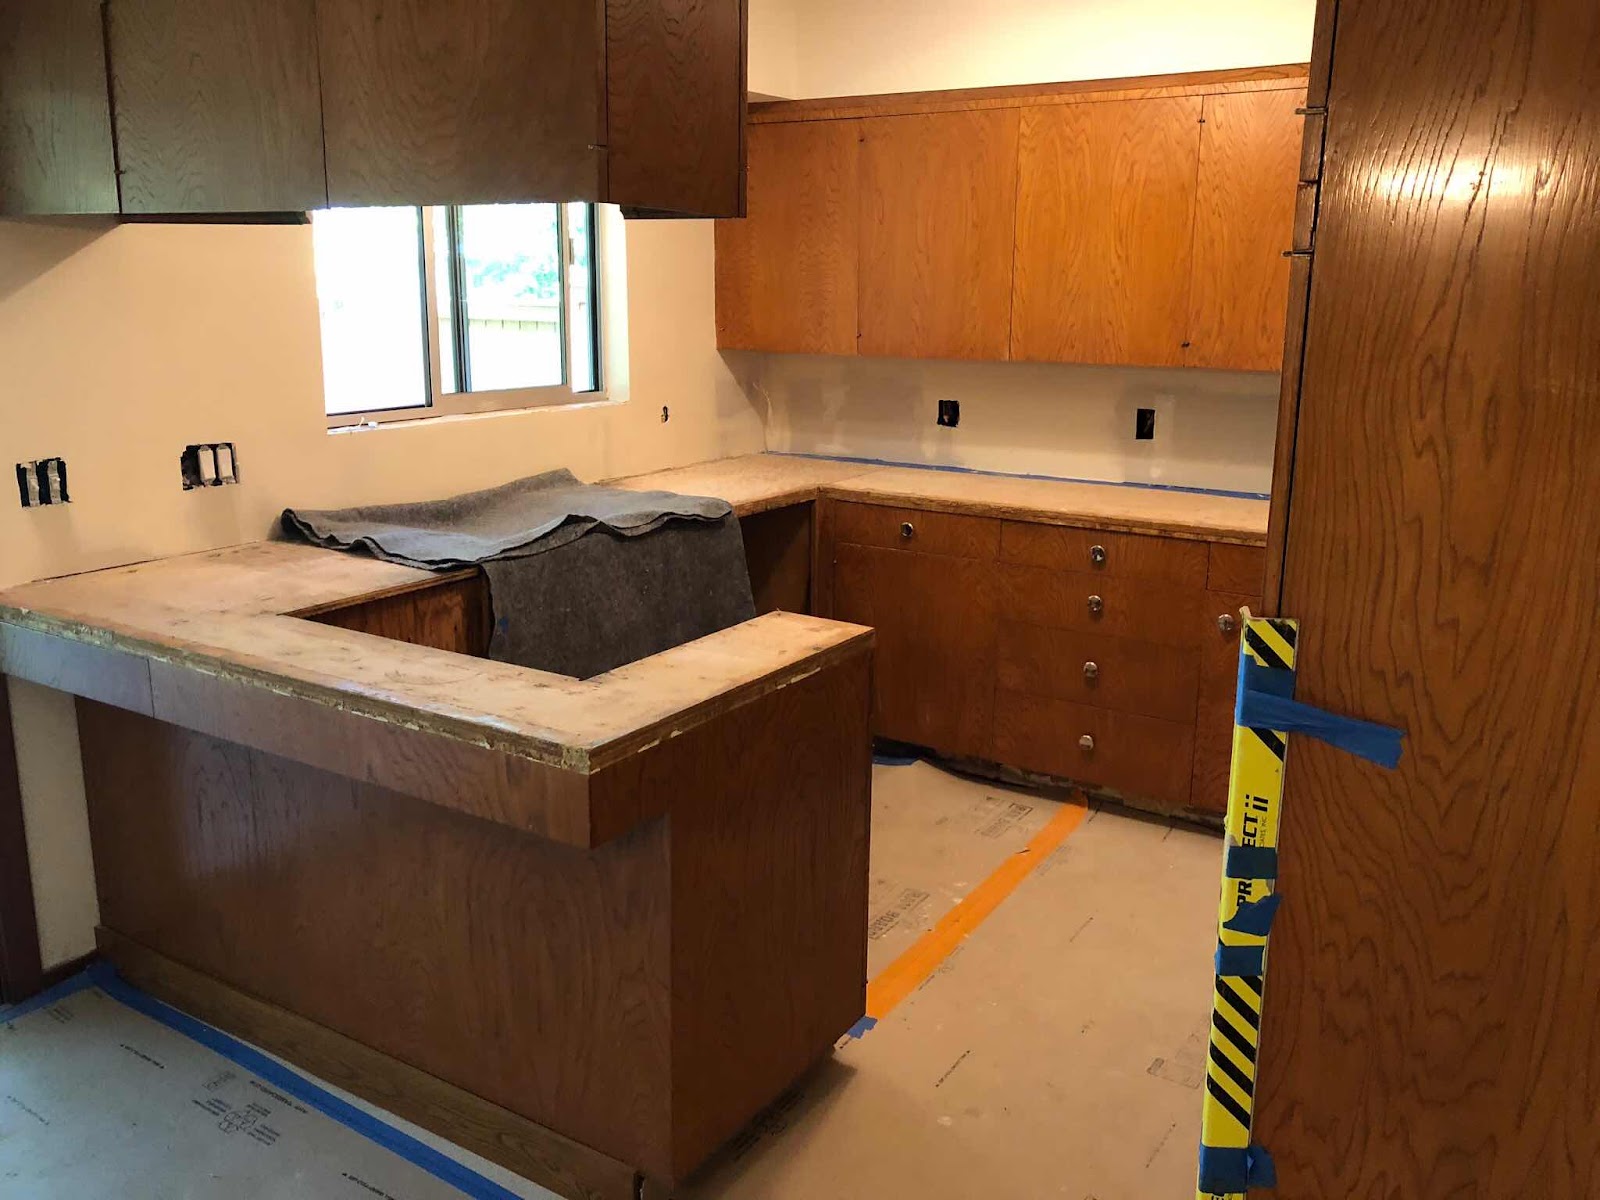
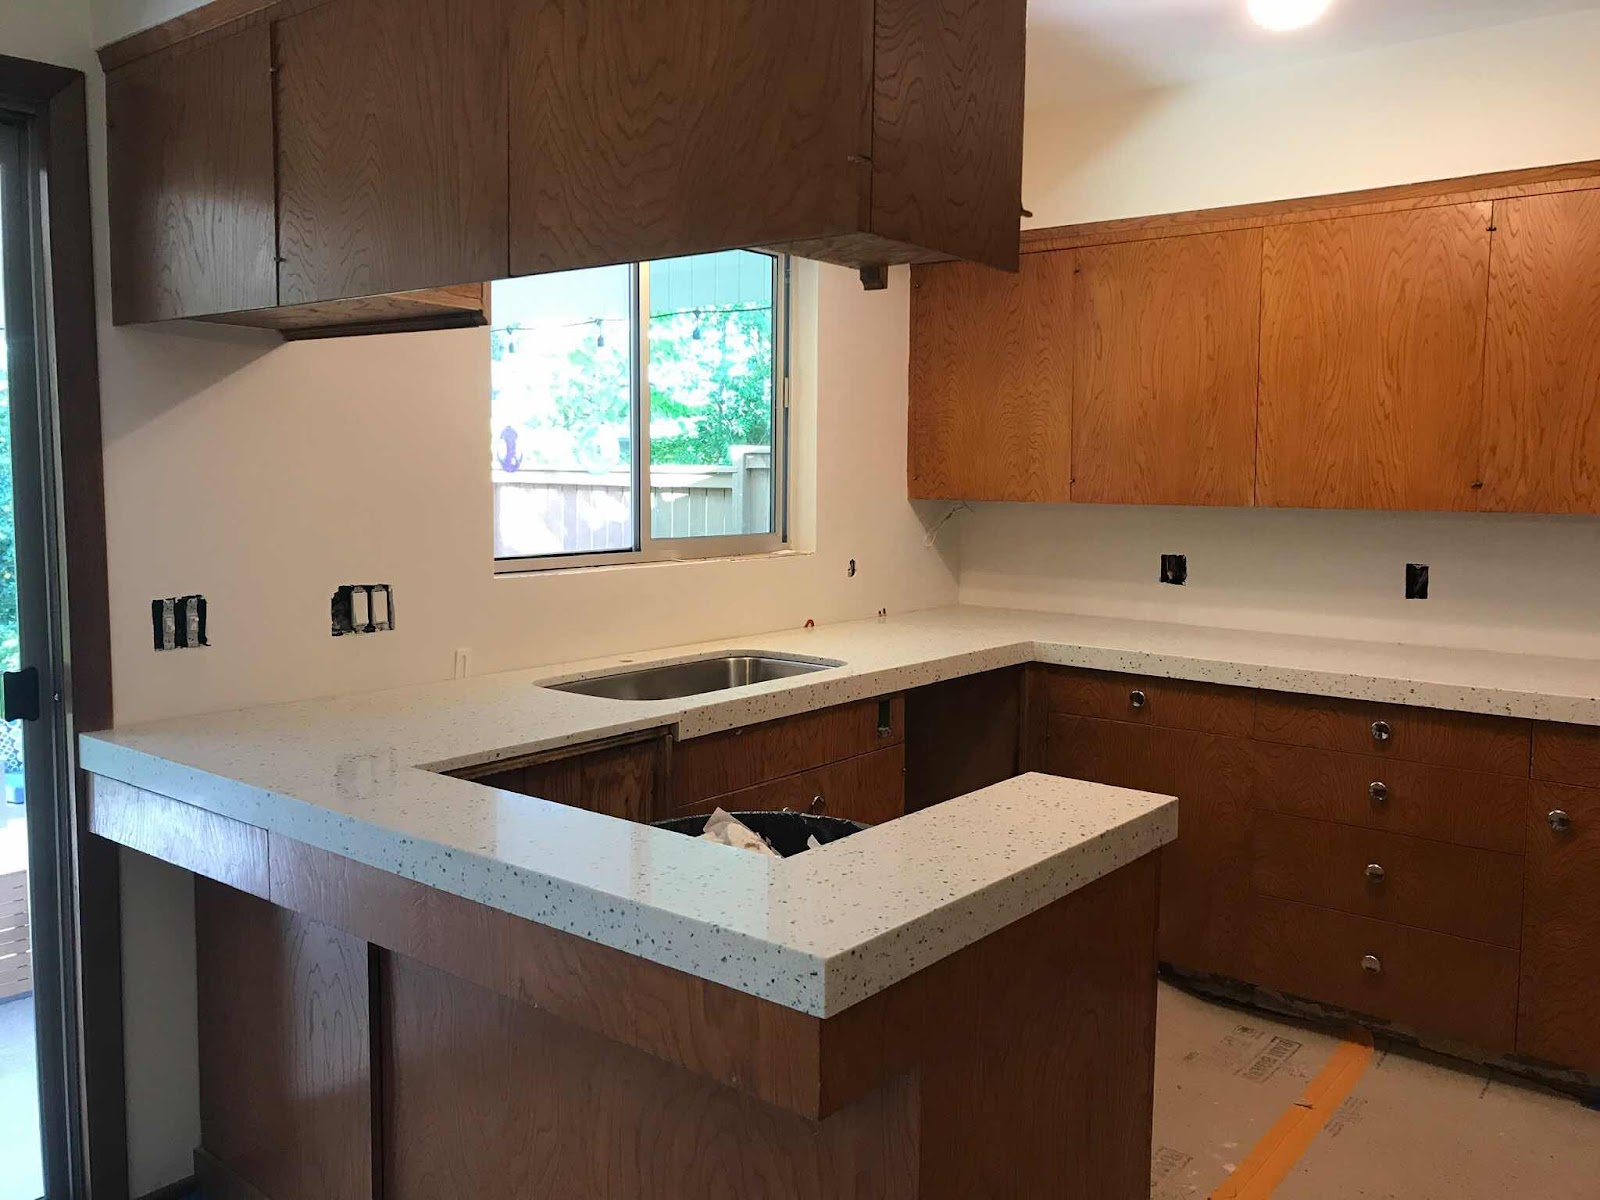
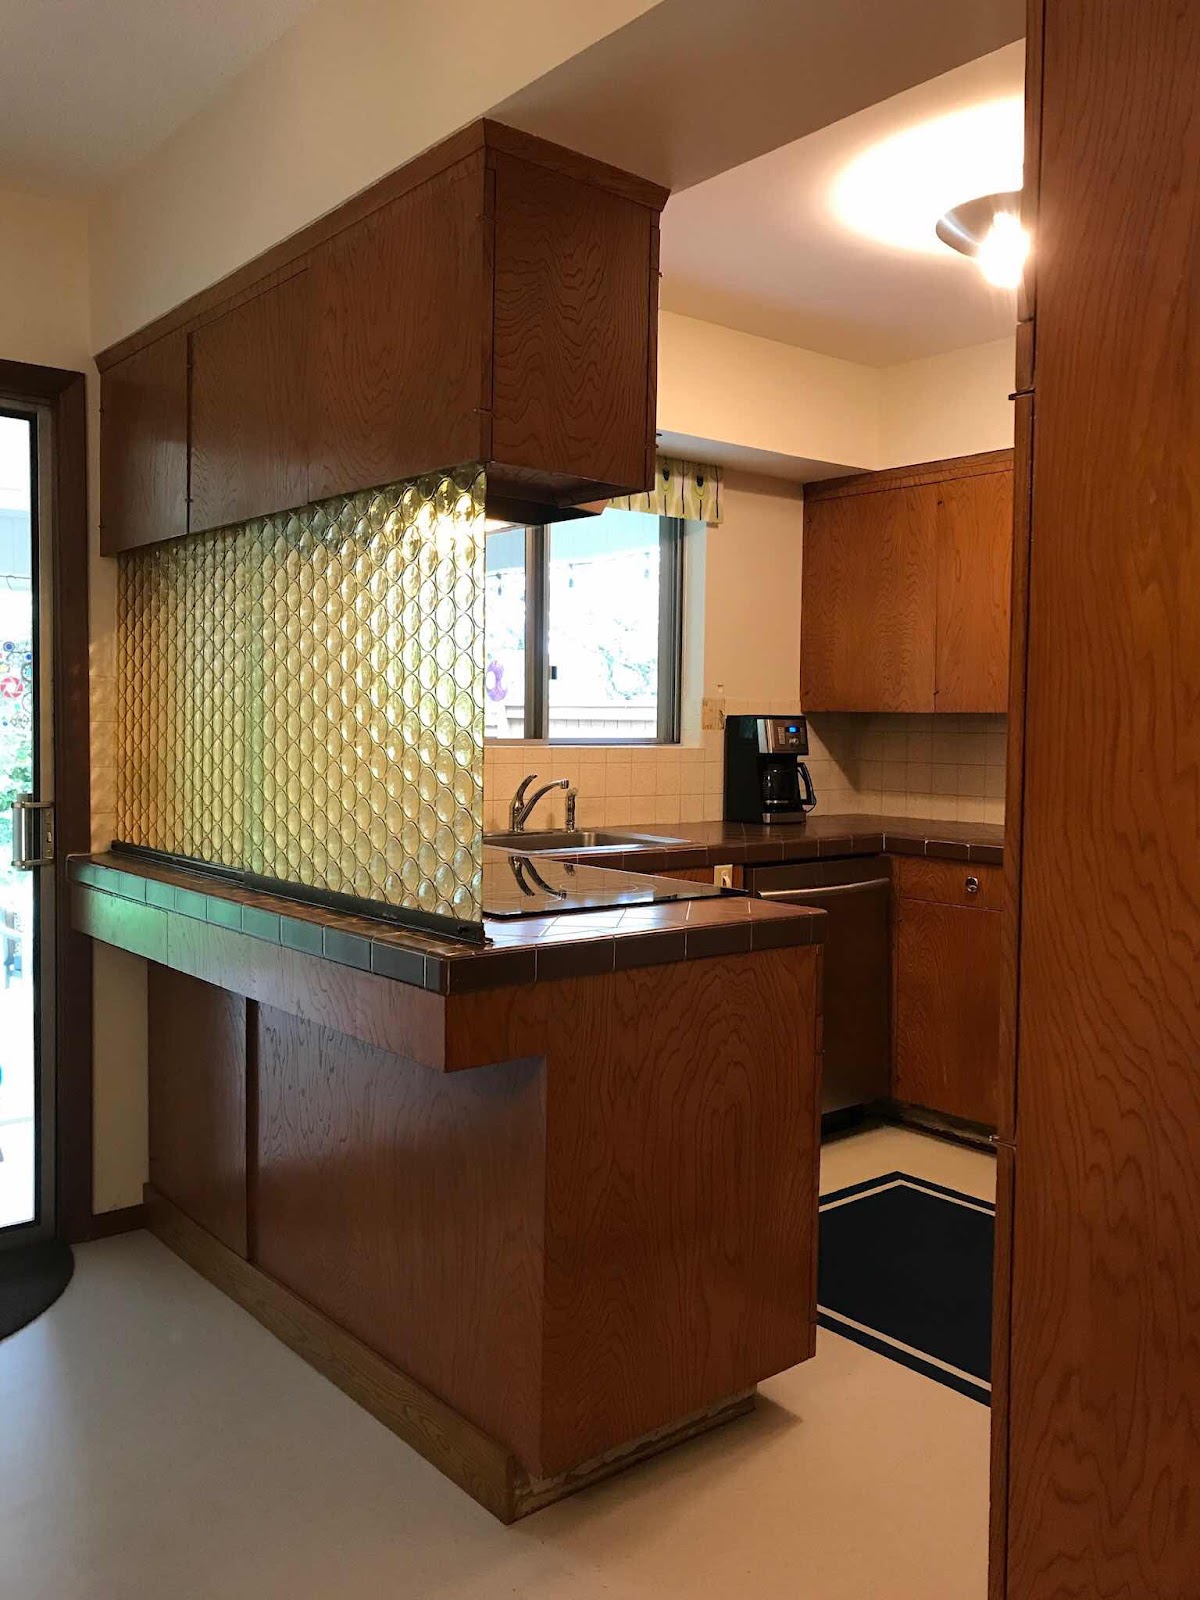
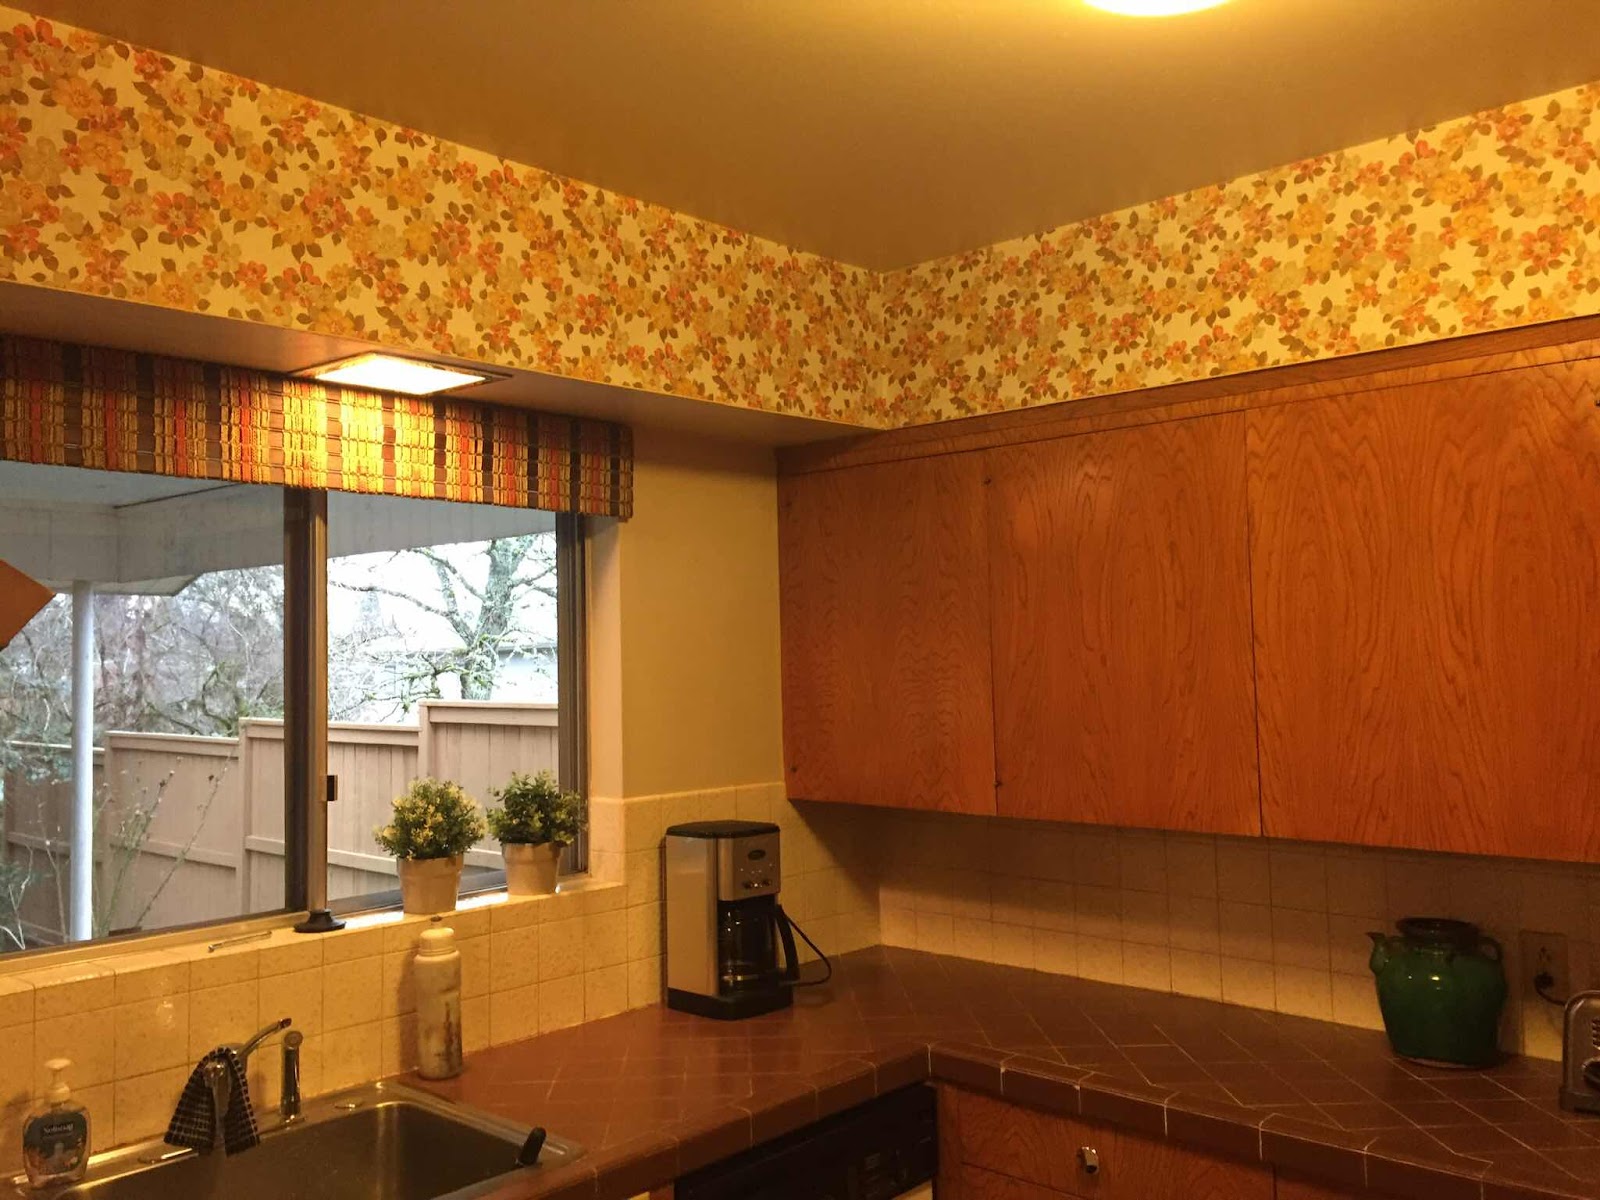
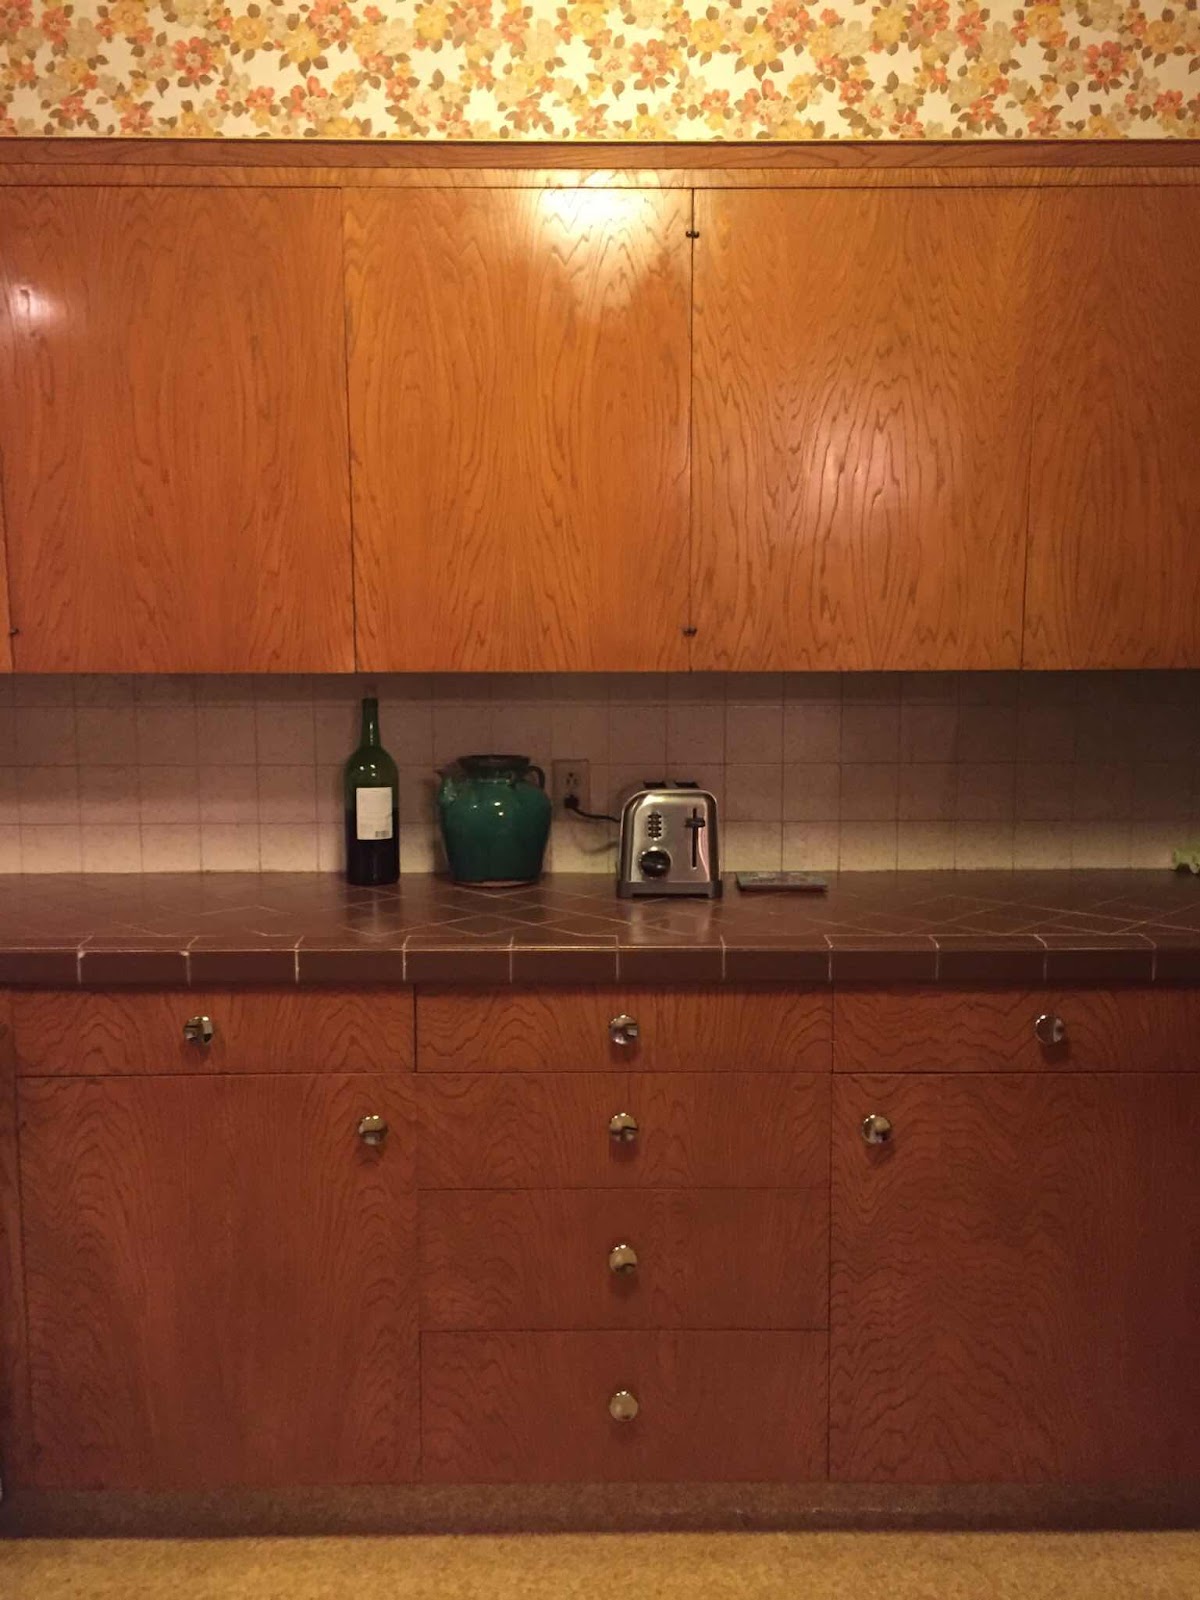
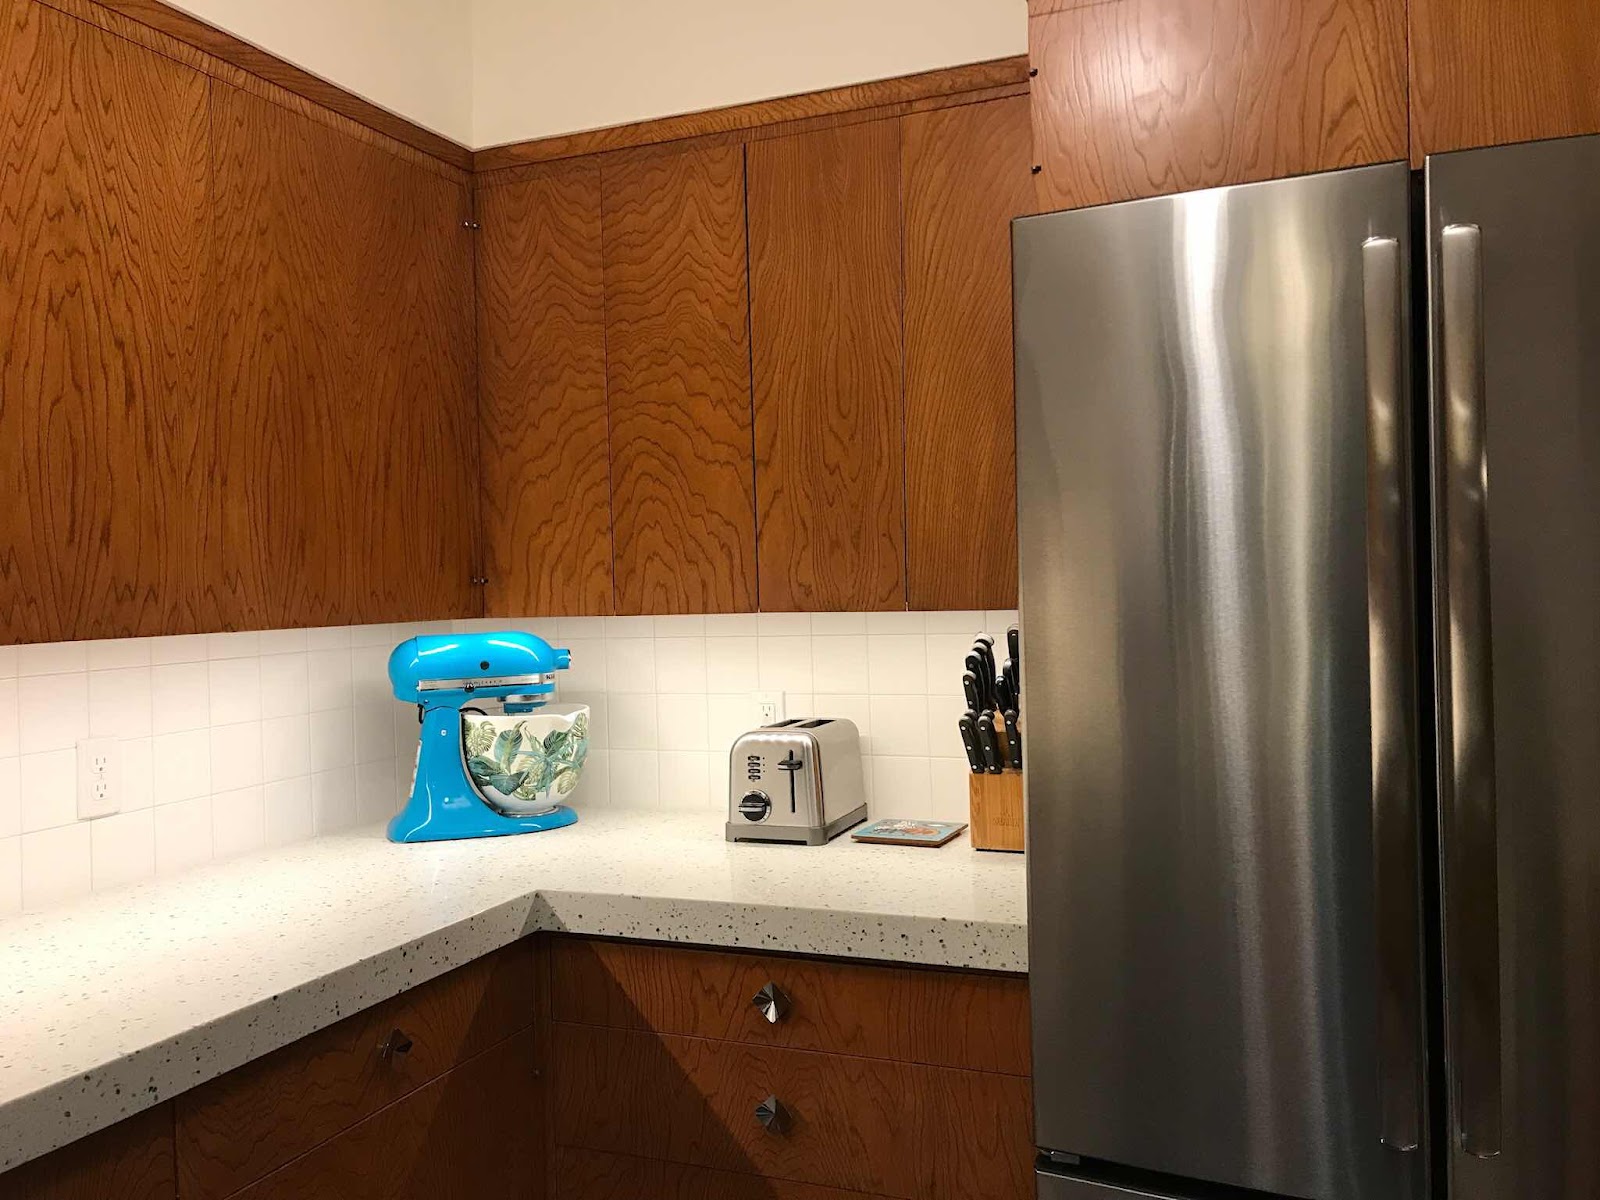
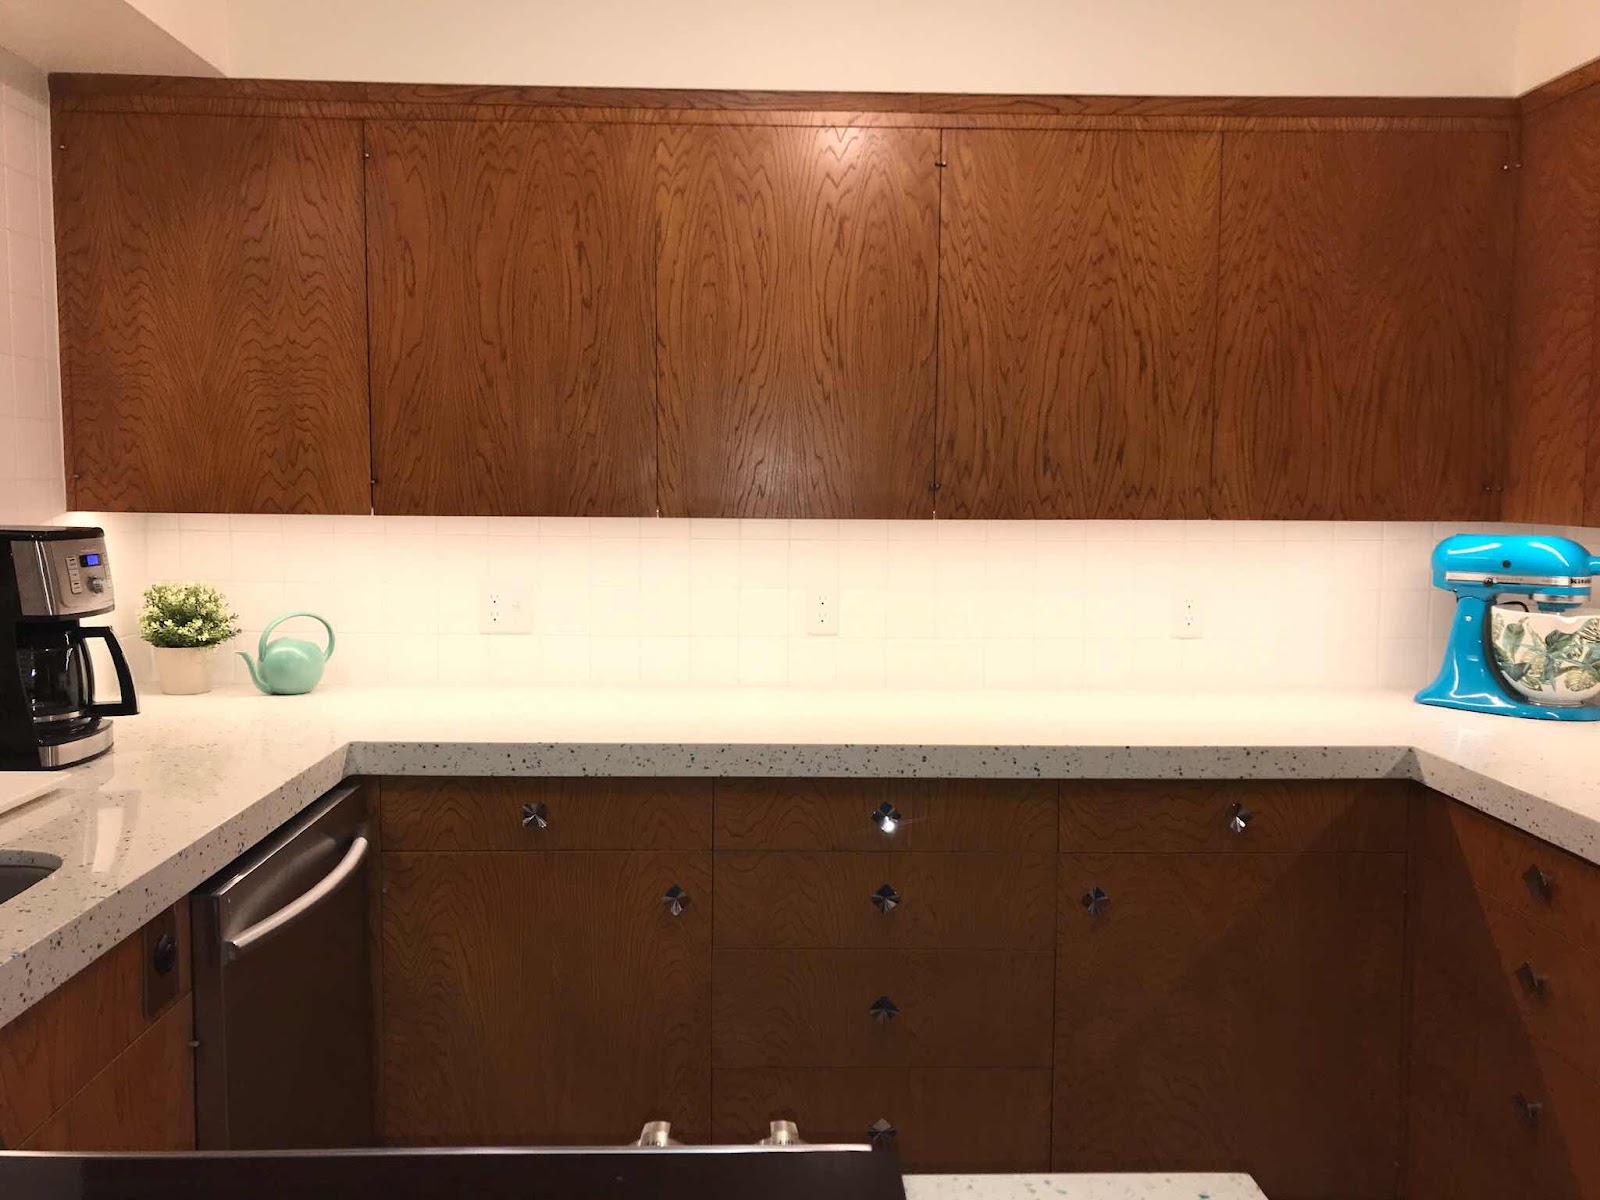
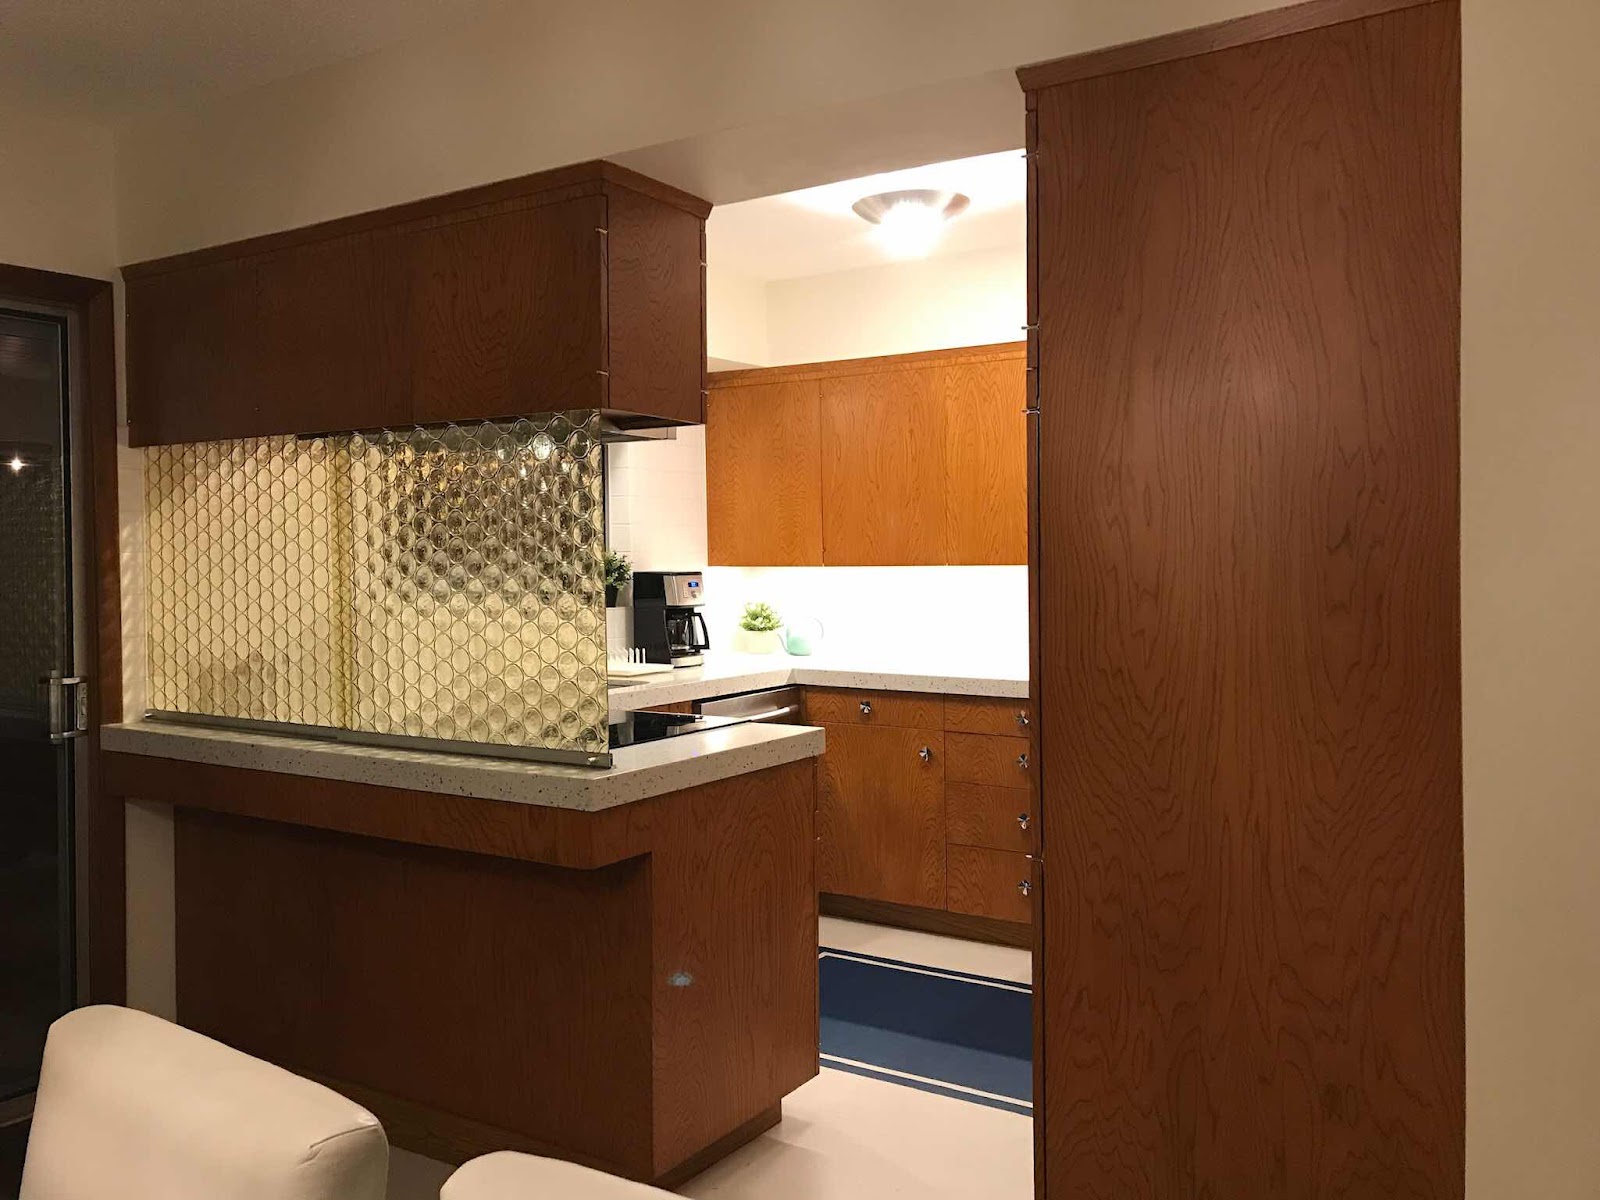
One of our favorite features of the Retro Ranch are the original kitchen cabinets. They are pecan veneer over marine grade plywood. The cabinets were built in place and the matching grain patterns, floor to ceiling and left to right, are simply something you won’t find in new cabinets or new home construction, at least on homes we can afford. To continue our goal to restore the Retro Ranch to its original glory we knew we needed to refinish the cabinets. Far and away the single most expensive element of this project, it would have been much less expensive to remove and replace them.


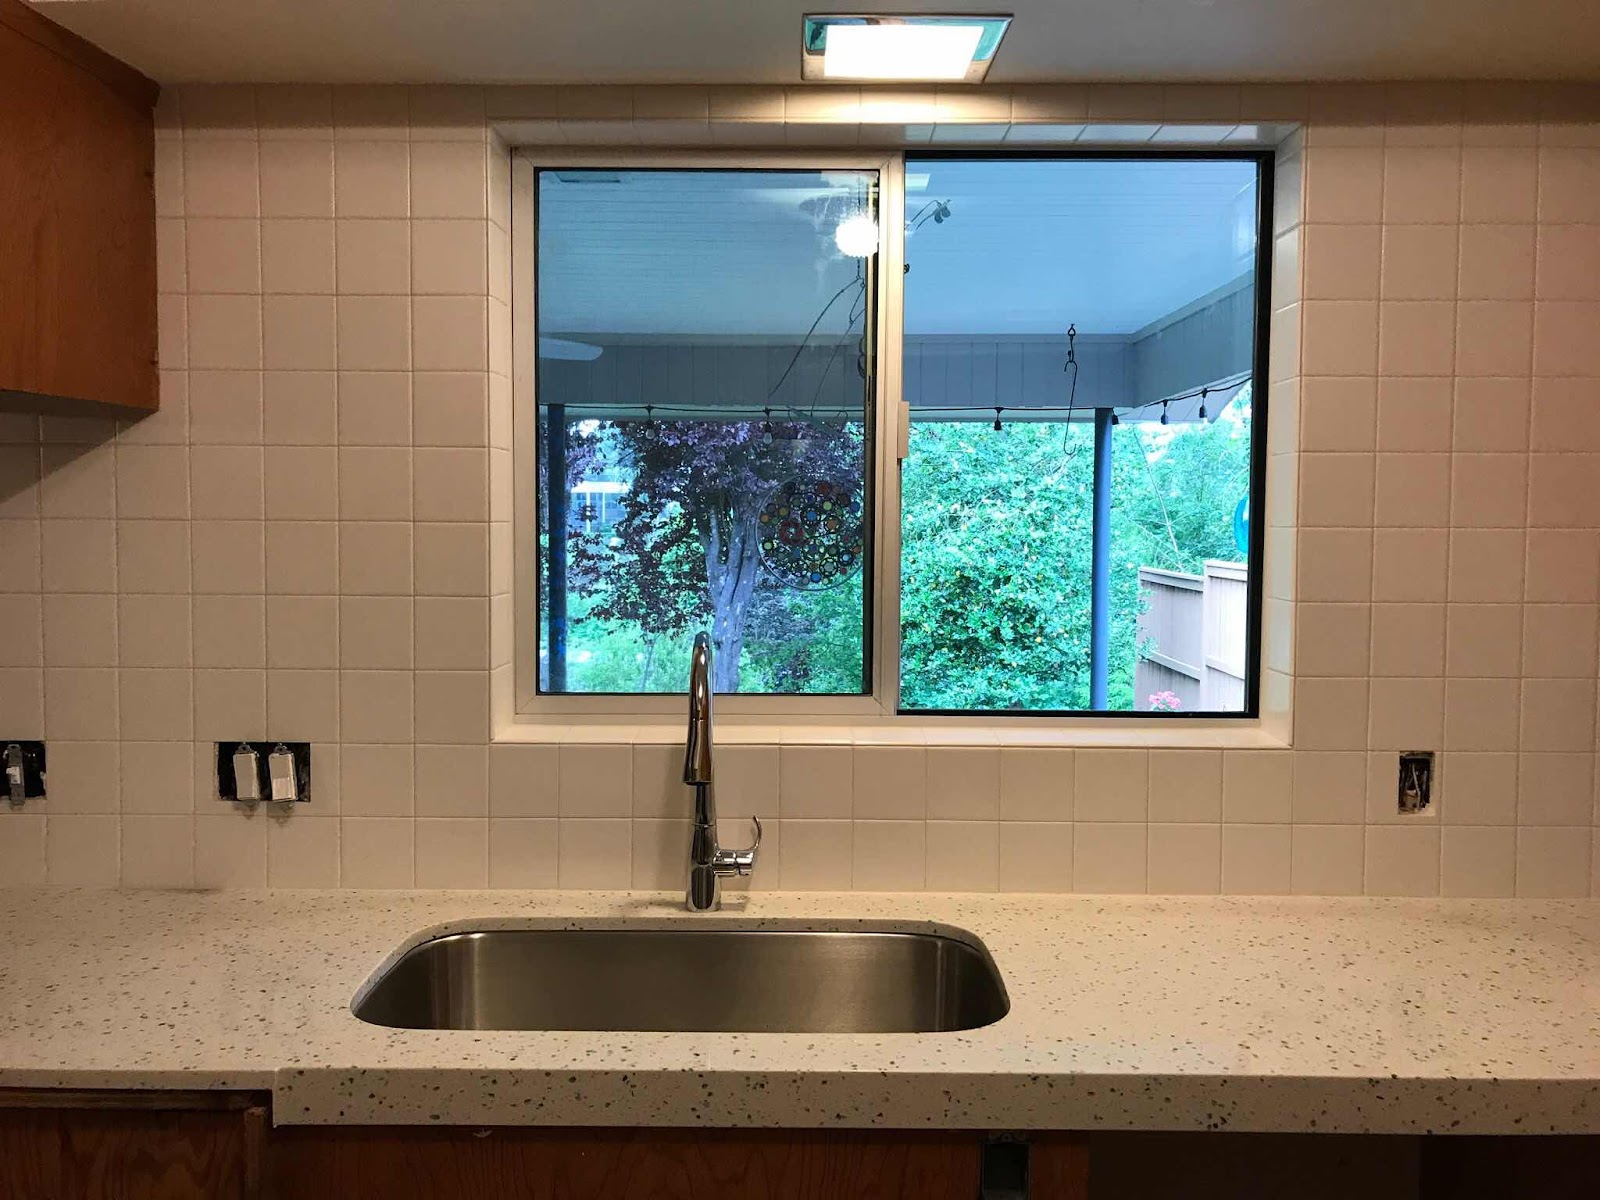
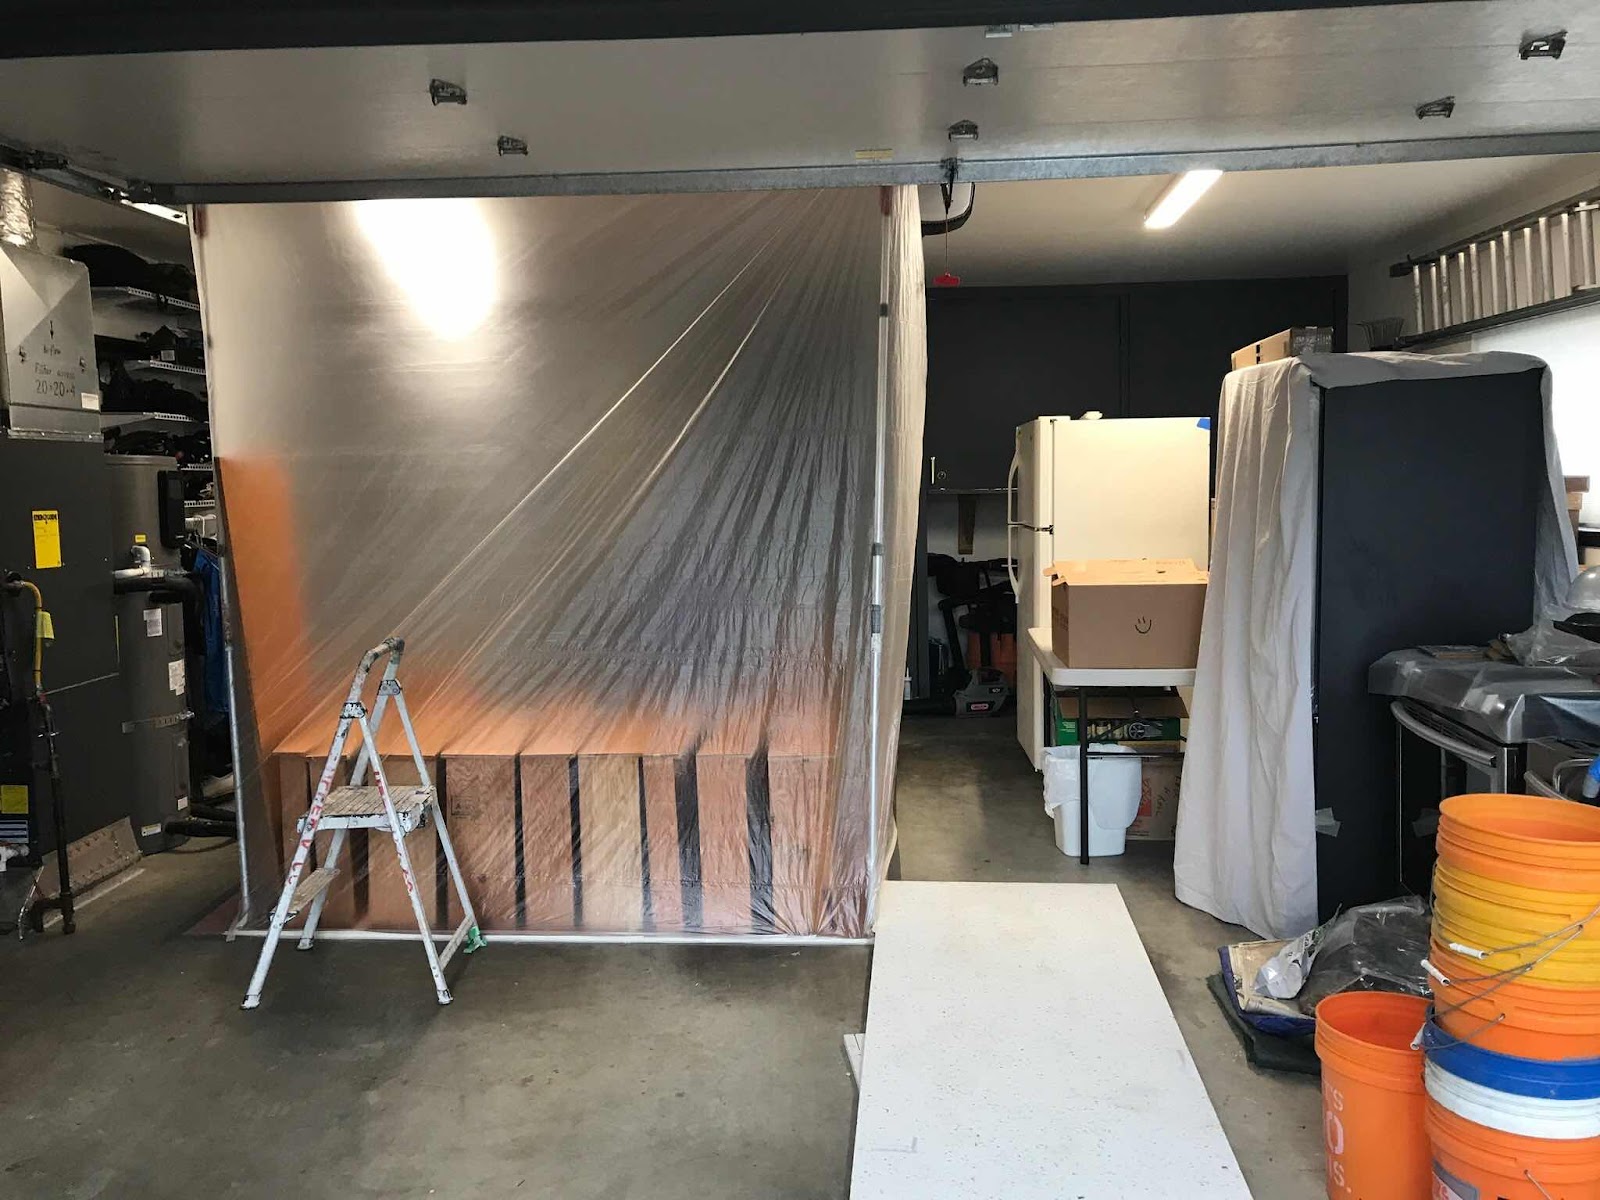
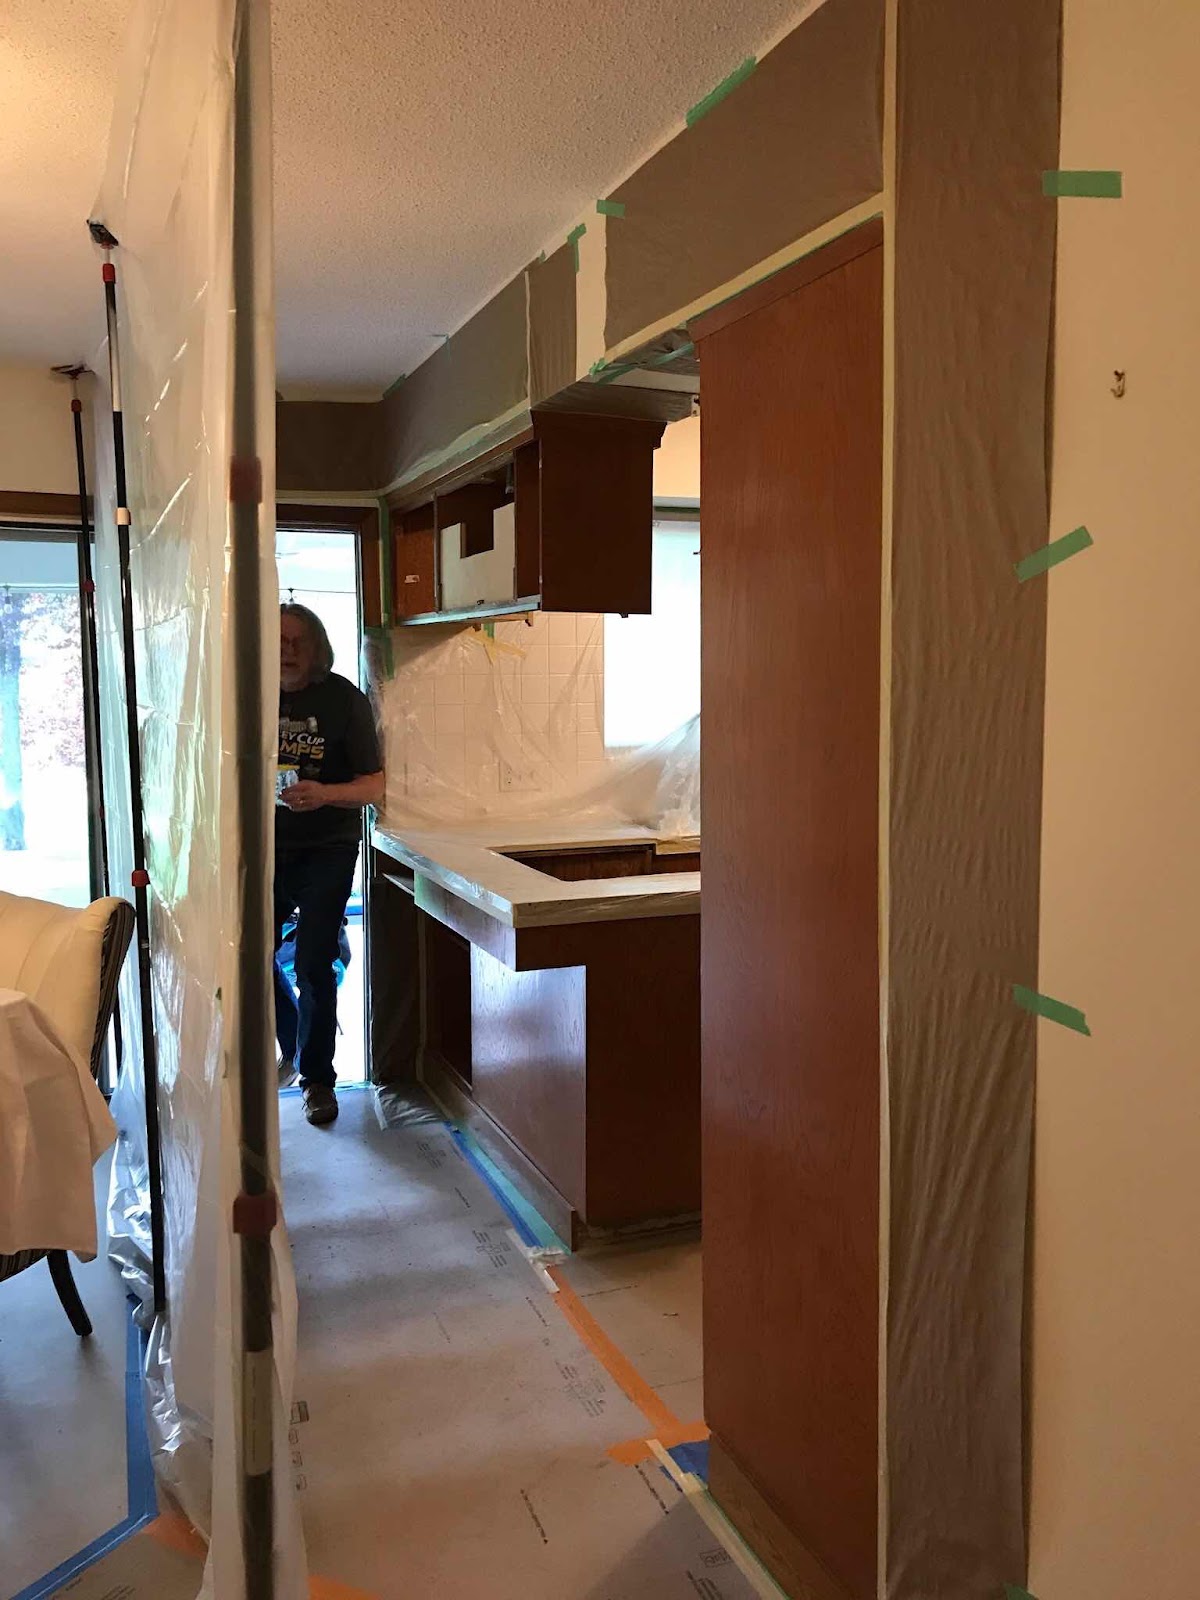
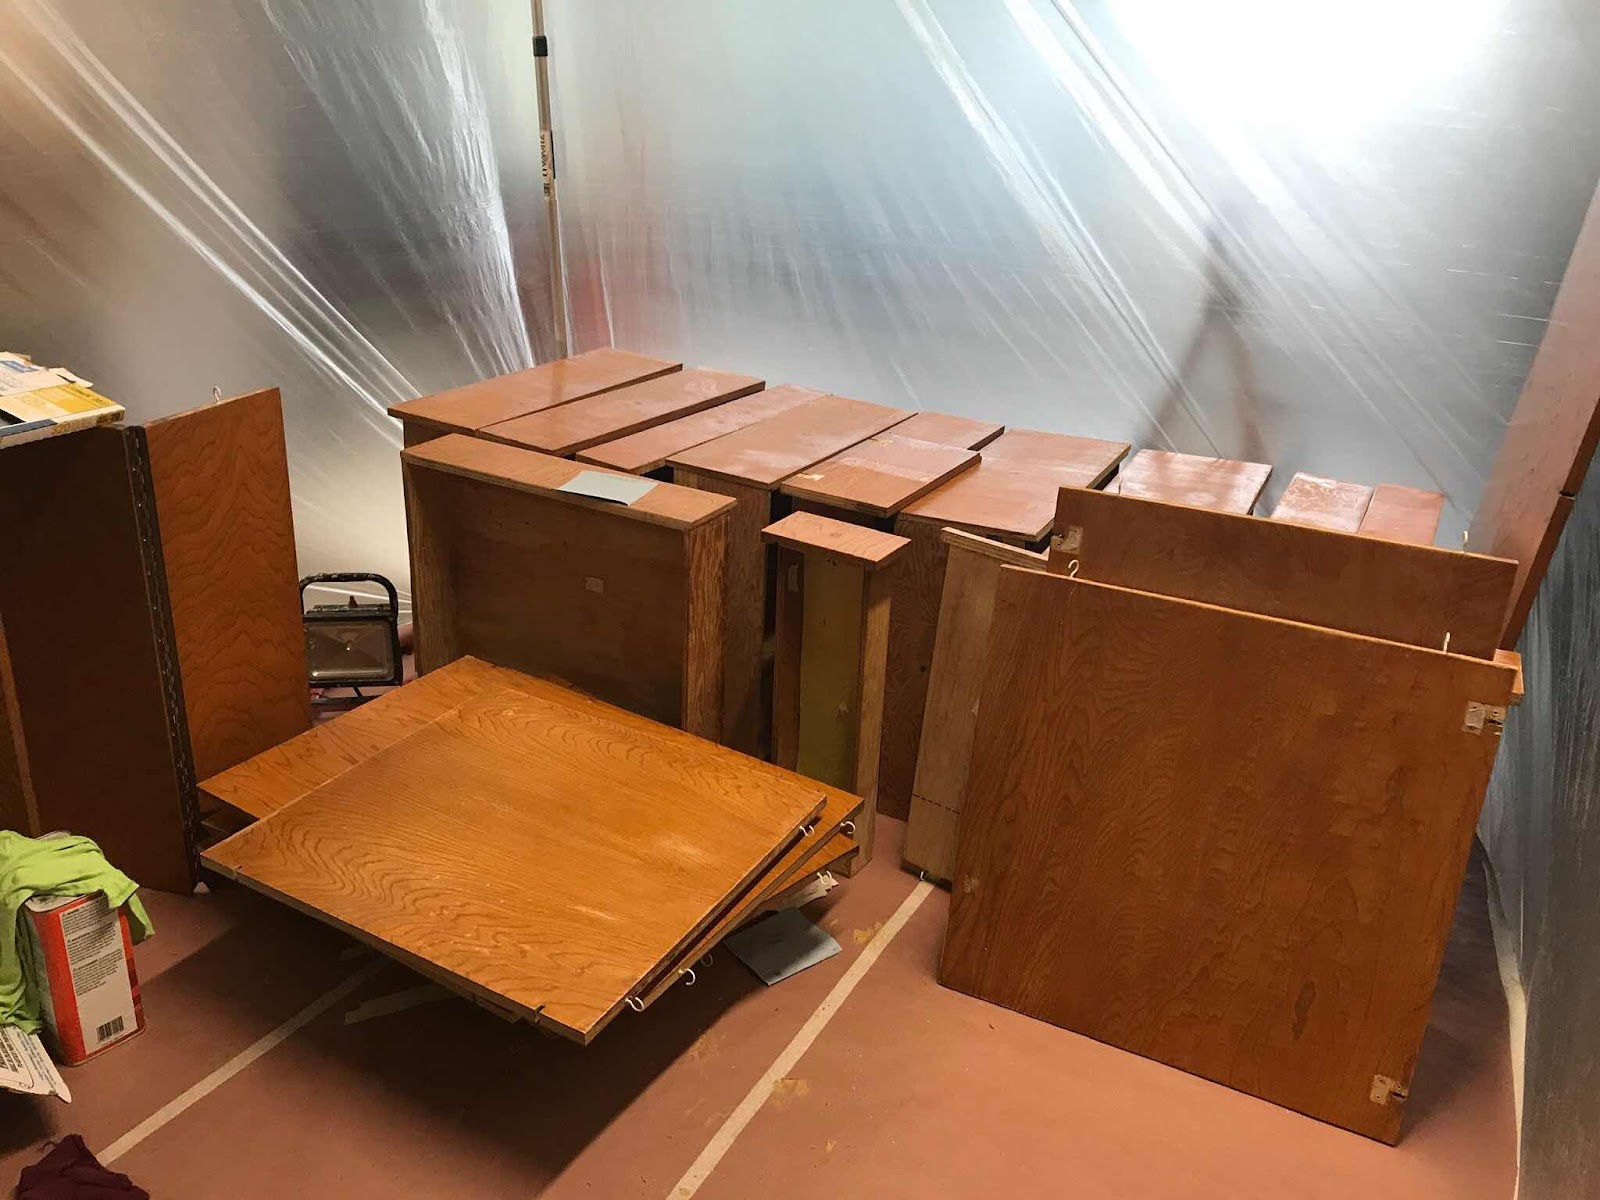
After only several days of enjoying the new sink, counter top and back splash, Graeme and Frank came in to start almost two weeks of cabinet refinishing. The first day consisted of building a spray booth/work station in our garage (which made getting to the refrigerator an even greater challenge), building plastic curtains in the dining room to contain the dust and debris from the project and to carefully remove all of the doors, cabinets and hinges from the kitchen. Everything was tagged, numbered and away it went to the work station in the garage. The kitchen was taped off so wood that couldn’t be removed could be detailed in place.


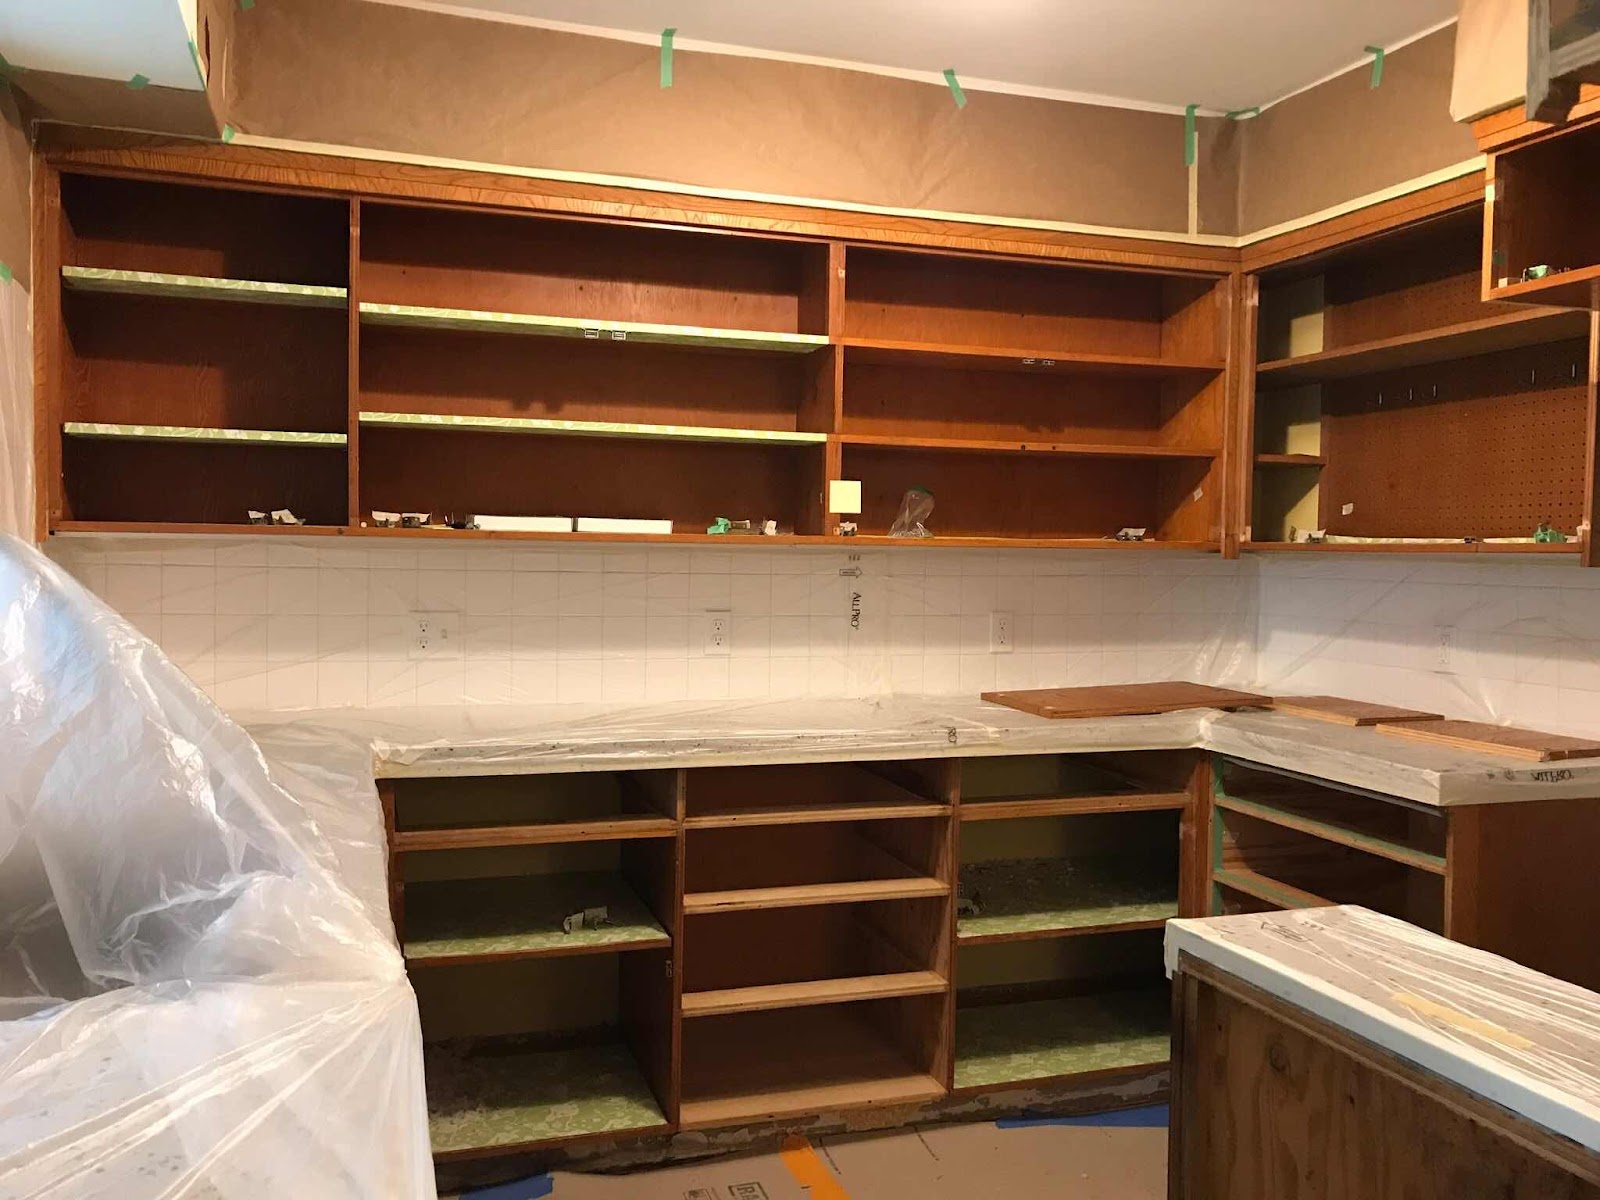
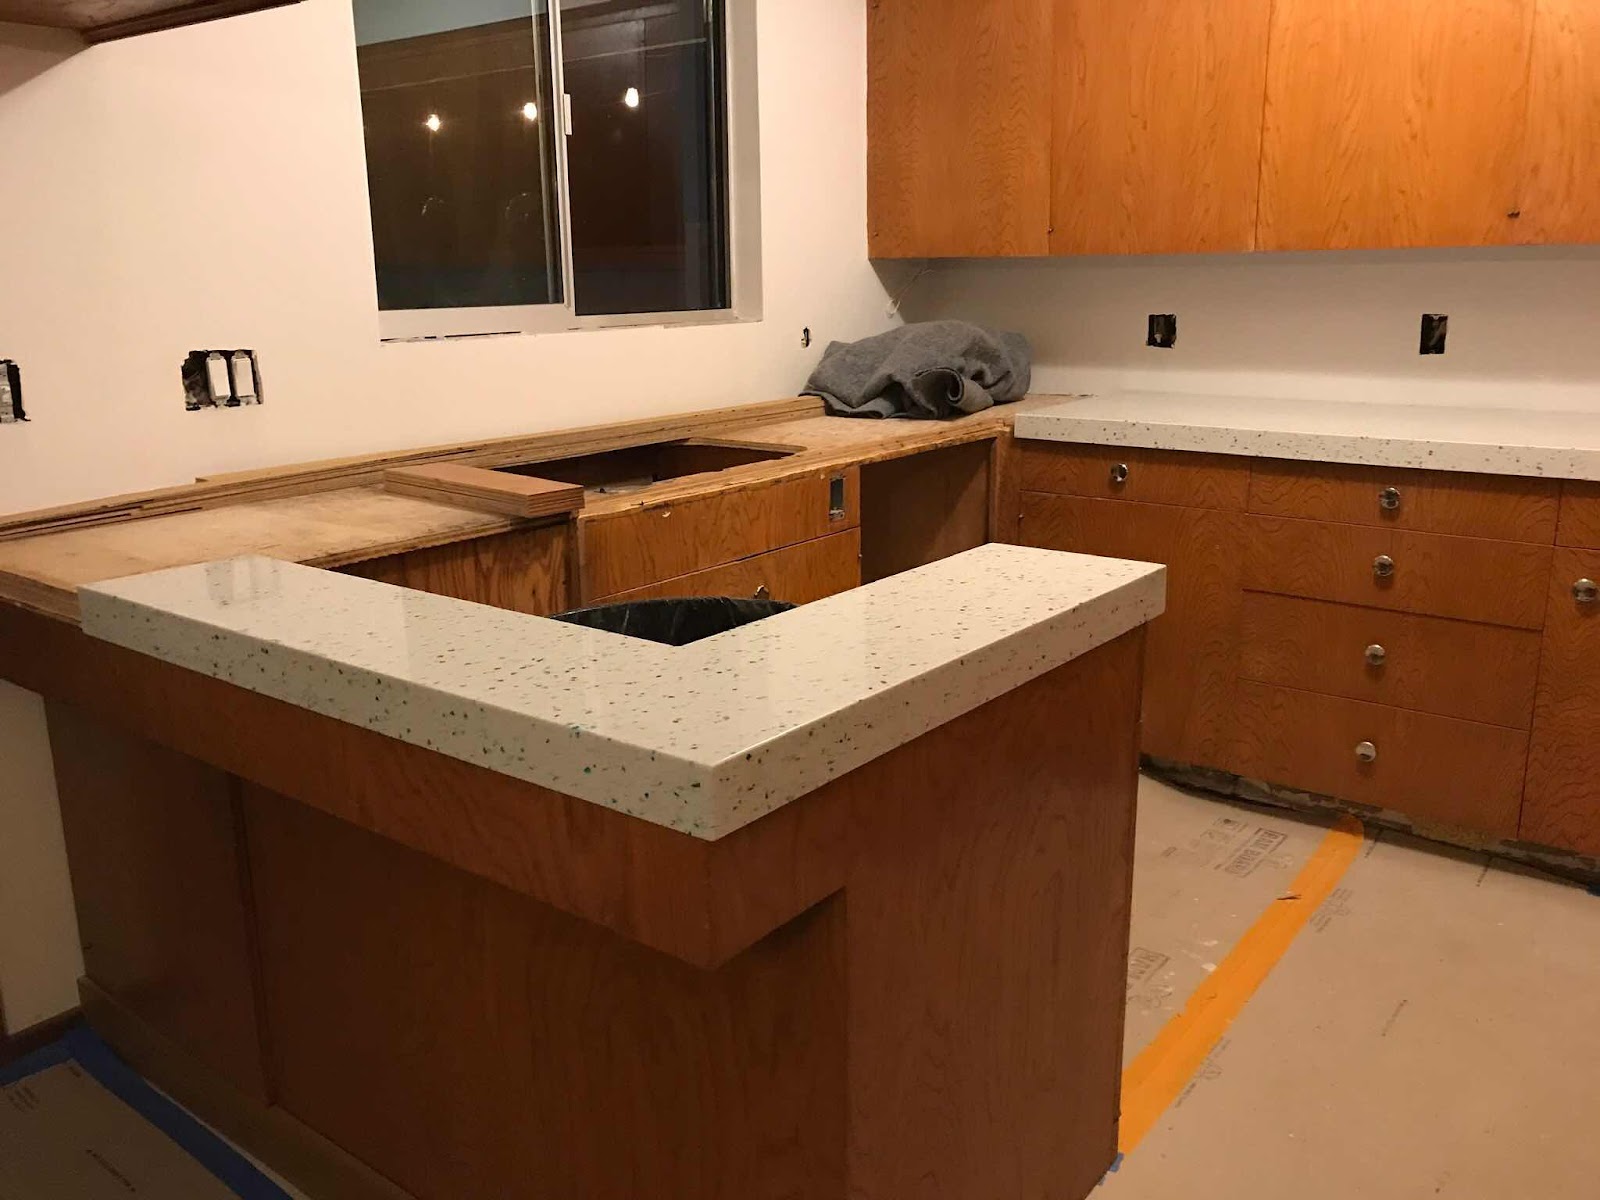
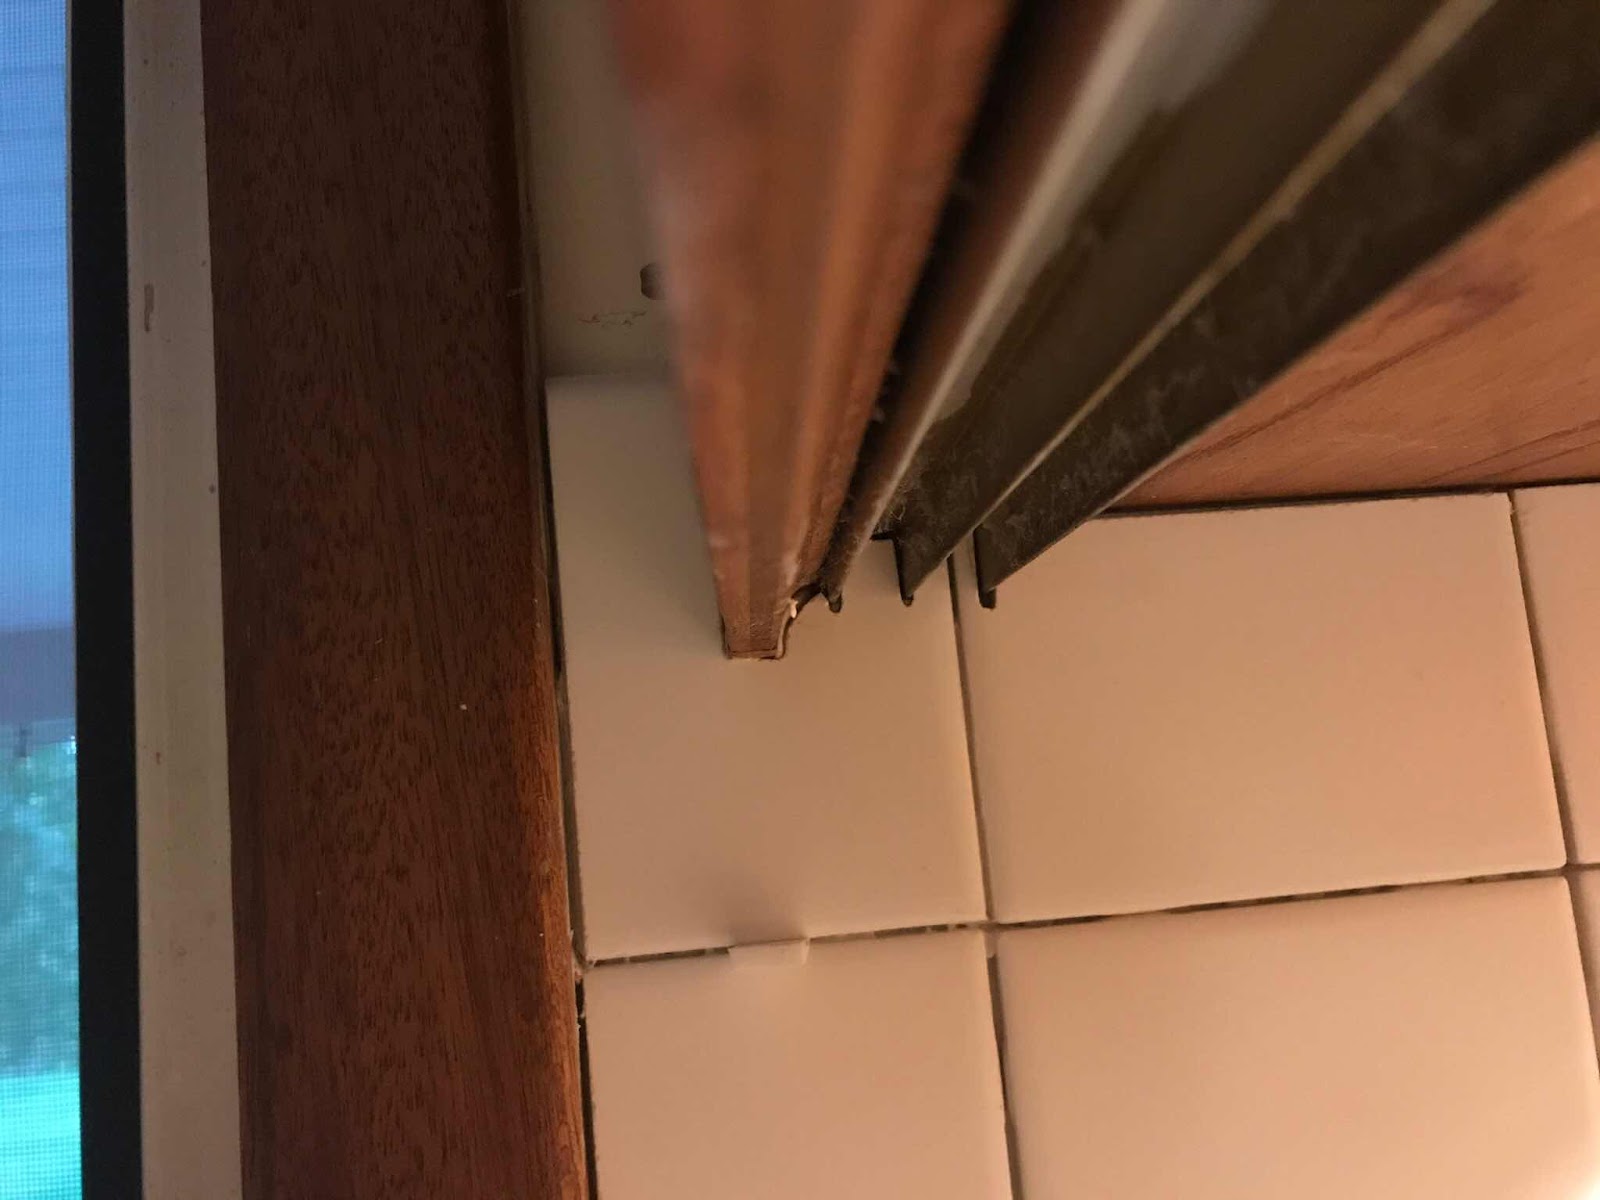
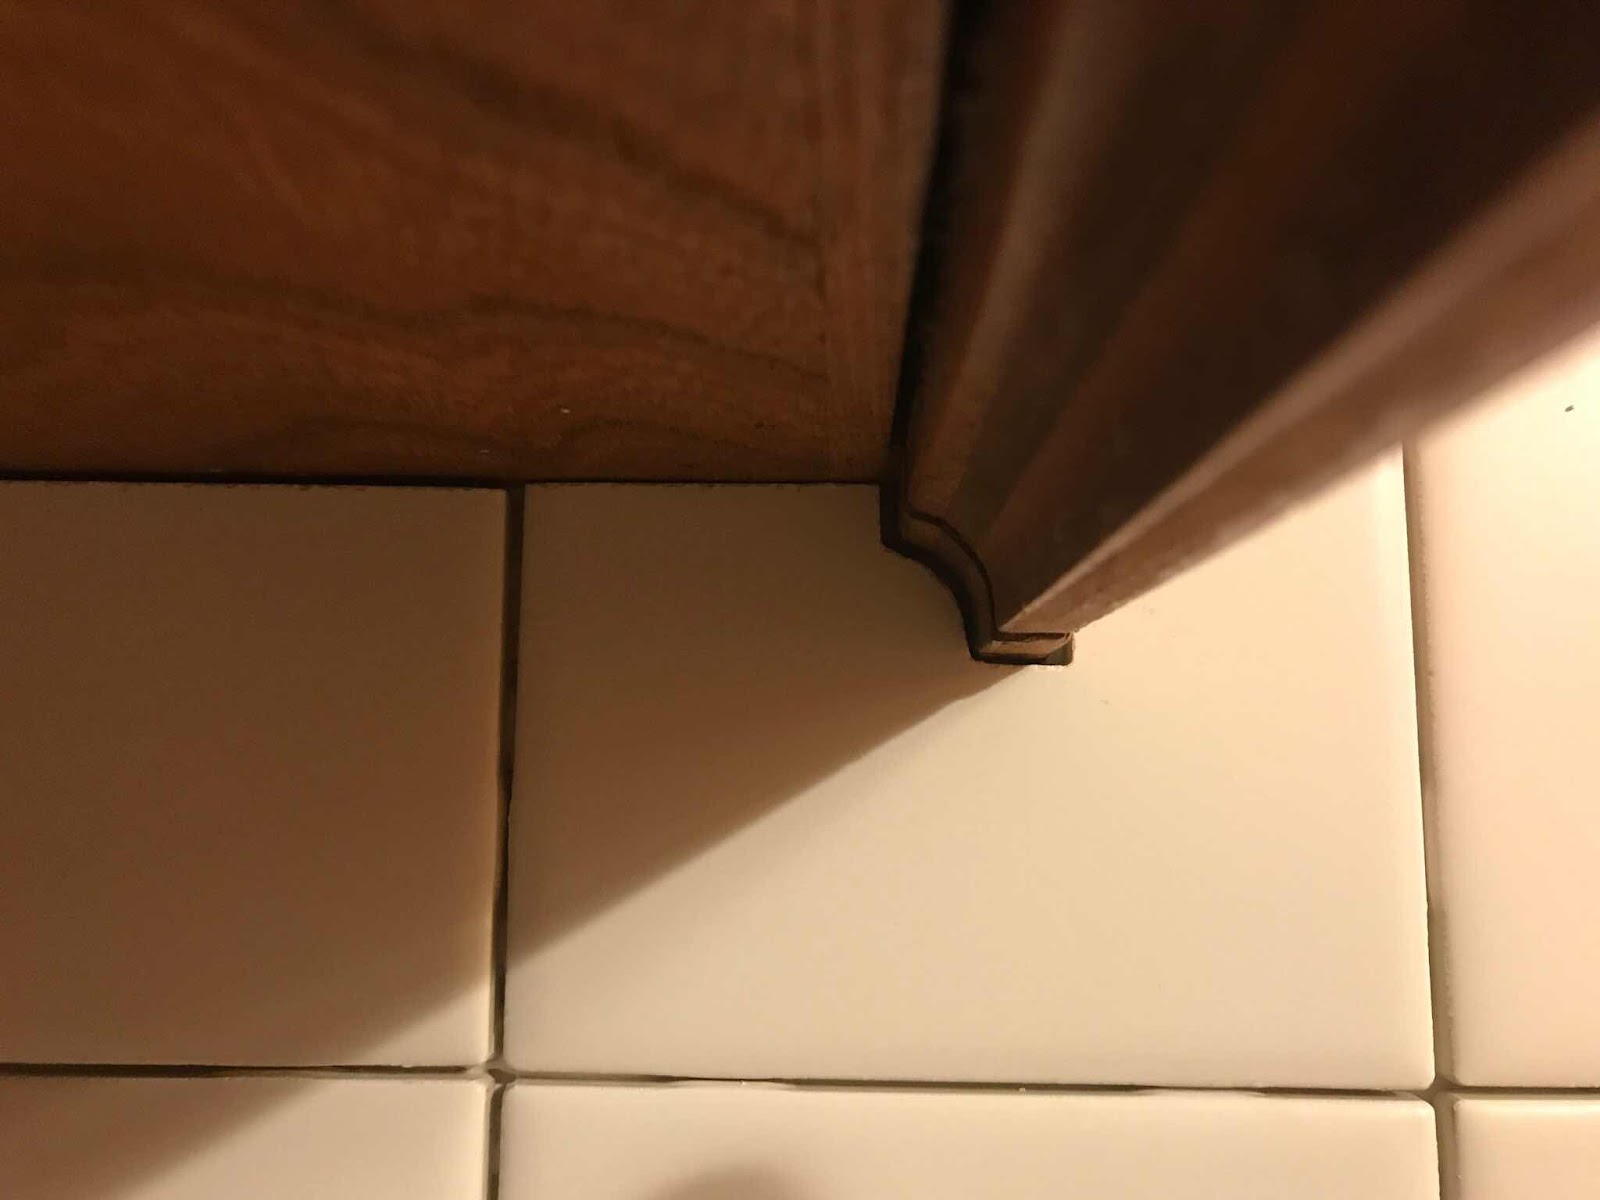
Over the next few days, Frank repaired various dings and flaws in the doors and drawers. Every exterior finish was hand sanded and we could see how 56 years of sunlight, kitchen smoke and more had darkened the wood. After the prep work was completed the refinishing process began. Frank and Graeme are true craftsman and applied the multiple coats both in the spray booth in the garage and in the kitchen as well. At times the fumes seemed overwhelming to me but Frank said he was used to it.


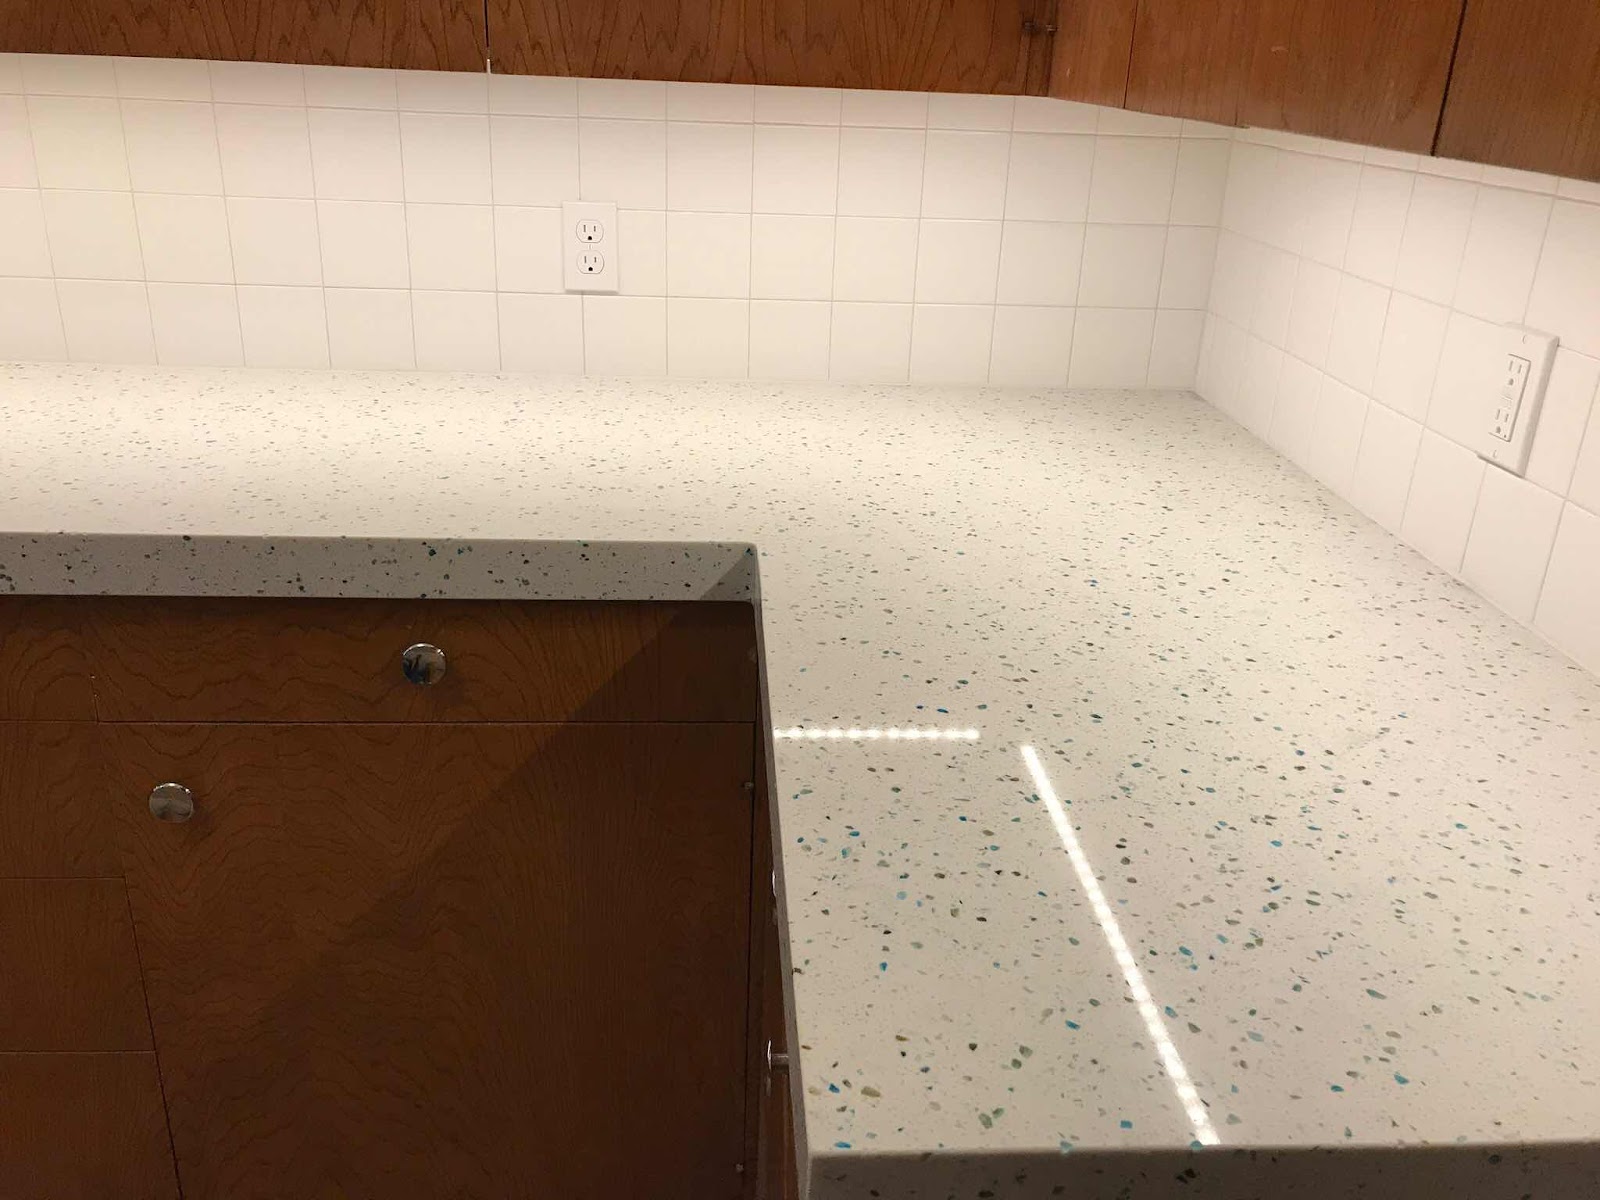
At the end of the second week it was time to reinstall the doors and drawers. Prior to reinstalling the doors, they cleaned all of the existing hinges (at some point in the last 50 years they had been coated with a tinted poly varnish and had a yellow tinge to them), they now shine like new. While cleaning them, however, they lost track of what hinge was in which location. Many of the doors weren’t closing properly or in alignment. But with the cabinet doors back in place we were anxious to get our kitchen back. The NWHC team installed our new counter-depth refrigerator and microwave/hood (freeing up valuable counter space next to the refrigerator) and put the stove and dishwasher back in place. Having cleaned all the hardware for the bottle glass doors (my they look shiny and new), they reinstalled those as well!


No kitchen renovation goes off without a hitch. Stay tuned for our next blog...the Retro Ranch Blooper Reel,


Saturday, July 25, 2020

Southwest Portland Man and Rocks Agree to a Cease-Fire

FOR IMMEDIATE RELEASE


PORTLAND, OREGON — After 4 years of battle, Scott W. Ferguson and rocks surrounding the Retro Ranch have agreed to an immediate cease-fire.


The skirmish started in the spring of 2017 when Ferguson and his wife, Beth Nichols, underestimated the depth of resistance they would encounter in trying to remove and relocate the rocks from the land they called home. 


The rocks, having occupied this territory since the 1960s felt it was their native land and dug in deeply for the ensuing battles and trench warfare. Battle weapons included shovels, rakes, buckets, sifters, wheeled carts and more. Hundreds of thousands of rocks were taken prisoner and relocated to more welcoming lands before the cease-fire was declared.


Ferguson/Nichols are awarding both a Purple Heart and Medal of Honor to their heavy-duty sifting screen as well the Silver Star for valor to George (a 4-wheel all-terrain cart). The rocks declined to comment.


It is hoped that this will be a peaceful co-existence, but a weary Ferguson suspects there will be the occasional flare up due to his wife’s seemingly insatiable plant collecting and garden rearranging appetite.

Monday, July 20, 2020

Water, water, everywhere or what do you mean we didn’t replace the discharge pipes!

Several weeks before the kitchen restoration project began, there was water on the laundry room floor after doing a load of wash. I should have known from past experience that once something goes wrong around the house it typically doesn’t magically fix itself. However, as this was a one-time occurrence, I was hoping that something just disagreed with the washer and that we were one and done. Silly Scott.


Immediately after the demo work was done and the dishwasher was removed we had another water discharge, this time through the unconnected garbage disposal. Hmmm – well this was obviously due to disconnected plumbing and not some other issue.


With the new countertop and sink in, the new faucet installed and the dishwasher reinstalled, we were good to go,,,.until we ran a load of laundry. This time it not only overflowed on the laundry room floor but urped up into the new kitchen sink. Well something is definitely wrong.


The NWHC came and routed the drain lines behind the washing machine but found no obstructions. Problem solved?!? No such luck. Come Saturday morning, the washing machine discharged more water than ever! It took every available towel we had to mop things up. 


Later that morning, two techs from Three Mountain Plumbing were out to route the discharge lines. They obviously encountered years of sludge based on how far they ran the cable and what it looked like coming back out. Touch wood – things have been working fine since then. (Well, our water discharge has been trouble free, we won’t talk about 2020 in general.)


Do we have an additional plumbing project ahead of us? Not in 2020, that’s for sure.

Monday, July 13, 2020

The Kitchen Refresh Phase II – Episode (week) 3 – The Great Whitening (One step forward and two steps back)


Week 3 of the Kitchen Refresh was when we first saw the most dramatic changes and could envision what the finished kitchen was going to look like. Monday the Alpha Stone team came in and spent the better part of the day, routing the perimeter of the cabinets so the new quartz counter top overhang would nest properly. After 6+ hours of edge work they installed the sink and started to place the new countertop. After an hour or so of hit and miss they were not pleased with the sink opening so back to Alpha Stone it had to go.


They did their magic and on Tuesday afternoon came and completed the installation of the new countertop. After our 4 years of the brown tile counter top, the new quartz top is amazing.


On Wednesday, Robert and his assistant, Darko, came in and cut and set the tiles around the window and under the cabinets. Robert has done all of the tile and flooring work for the powder room, laundry room and kitchen/dining room floor. His level of craftsmanship is amazing.


The rest of the tile was set on Thursday and on Friday the finish electrical and plumbing work was completed. We now had a sink in the kitchen! With the new LED under-cabinet lighting, the white backsplash and white speckled quartz countertop, the kitchen was almost blindingly white - not unlike the explosion of the death star!


Faithful readers know we have standardized on the original Sierra ribbed ivory switch plate covers throughout the house. Beth has tracked them down on EBay and I have had covers machined to fit outlet shapes that didn’t exist in the early 60s. (Check out this cool hack here.) Unfortunately ivory switch plates on our new, white back splash just looked wrong. Beth has tracked down some of a similar vintage style in white plates. The search is on for the rest of what we need. Stay tuned.


So, we were able to enjoy the half completed kitchen for a few days – sort of. As this is the Retro Ranch, nothing is ever as easy as we would hope, so before the next installment and the kitchen is sheeted in plastic for two weeks of cabinet refinishing, there will be a brief blog about the revenge of the sewer pipes and the flooded laundry room. But at least we are not showering on the patio and The St. Louis Blues are still the reigning Stanley Cup Champions!


Monday, June 22, 2020

The Kitchen Refresh Phase II – or At Least We Aren’t Showering on the Patio

With Covid-19 and Shelter in Place/Quarantine restrictions this spring everyone’s routines, daily/weekly rhythms and more have been disrupted. So I doubt we will get any additional sympathy from our faithful readers as we start the Retro Ranch kitchen refresh (phase II) and its ensuing disruptions.


The kitchen refresh was supposed to be a Spring 2019 project but as funds aren’t limitless we had to split the project into two phases. (See Retro Ranch blog dated July 24, 2019.) We reserved the project dates of late May, early June with our contractors, Northwest Home Concierge (NWHC) last fall. We knew the kitchen would be out of commission for at least 5 weeks, so we wanted the option of cooking (grilling) on the patio in warmer weather. 


With our project start date of May 17th rapidly approaching we had to get serious about packing up the kitchen. Of course we had started various other outdoor projects that sucked up several weekends of our time, while at the same time I had to deal with boxes of books, hockey cards, sports and rock ‘n roll memorabilia that had been on two pallets in the garage since we moved into the Retro Ranch 4 years ago. Beth has been remarkably patient in my choosing to ignore the elephant in the room, errr garage but we finally got most of the garage cleared just in time for the new appliances to be delivered (in boxes) and for the contents of the kitchen to be boxed up and stored in the garage. (Note: The garage is still full of boxes and stuff, albeit different boxes and stuff and the Mini sits forlornly outside.)


Our new “normal” would mean the fridge in the garage, the microwave on the patio, washing dishes in the utility sink in the garage and the coffee maker in the hall bathroom. I am getting my steps in now everyday just getting a hot cup of coffee and adding cream to it before coming back to my home office. The microwave lasted on the patio about 2 days before it migrated back into the house and is perched on a table in the entryway.


After getting the final measurements for the new countertop on Monday, all hell broke loose on Tuesday morning. The NWHC crew arrived and after putting down protective barriers, the appliances were pulled and relegated to the garage and the demo work began. Within 5 hours of arriving the NWHC Team had removed the old brown tile counter top, tile backsplash, butcher block, range hood, sink, disposal, cleaned up and were gone. As I looked in what 3 days before had been a working kitchen, the view was bleak. Beth, on the other hand, was thrilled that the brown tile countertop was gone and on its way to a landfill.


Day 3 was the beginning of the electrical work and the installation of the new kitchen window. Our internet was knocked out as the modem was on the same circuit they turned off to work in the dining room and kitchen. An extension cord through the hall and into the hall bathroom (adjacent to the coffee maker) was the new source of energy for the modem and the Wi-Fi was back on. The preliminary electric work was completed on Thursday and while we temporarily had no functioning outlets in the kitchen or dining room, at least we could plug the modem back in to its rightful source and remove the extension cord from the hall. We also learned on demo day that there was no insulation in the walls in the kitchen. The NWHC Team ingeniously devised a system to blow in insulation on Friday. So we have the added bonus of a warmer, more energy efficient kitchen too.


An additional challenge was the limited number of counter depth refrigerators available that would fit our opening. The current fridge, was not original to the house and was too deep. The cabinets had been cut to accept this fridge but we would need to rework them again as our new fridge would be taller and not as deep. The cabinets over the stove were also reconfigured to accept the new microwave / range hood. Removing the microwave from the counter will be a much better use of space, too!


It was now time for Ted, the drywall guy, to come in and do his magic. In addition to installing drywall in the kitchen and patching the holes created during the rough in electrical work, the kitchen, Ted TDWG, had to patch above the electrical panel (for the second or third time) since he has been working at the Ranch.  With a coat of primer applied to the drywall, the first two weeks of the project were completed.


Our routines and kitchen rituals have been upended, stuff is not always where it can be found, there is dust…everywhere and the project is just finishing the first third of the work. As I look back at some of the inconveniences (first-world problems) we have experienced while restoring the Retro Ranch, this is relatively minor. We don’t have to take our clothes, towels and linens to the laundromat, there isn’t a porta-potty outside our front door as our only toilet for our morning constitutionals, etc. and we are not showering on the patio as we did for two months in the summer of 2017. Oh and the St. Louis Blues are still the defending Stanly Cup Champions, one year later.


Sunday, June 7, 2020

The Anti-Bucket List: “Easy to Install” Irrigation Systems, Sunday evening trencher rentals and more


We have all heard of, or maybe even have, a list of things we want to do before we kick the bucket - a bucket list. After a recent Retro Ranch project I’ve decided that I have the opposite of a bucket list too – the anti-bucket list, things I have done once and will never do again. In addition to drinking yogurt water (served with a meal in Turkey), I can now add operating a trencher.


Last year Beth decided she wanted an irrigation system in the front yard (because Scott likes a green lawn and Beth is the sprinkler handler) so we purchased an “Easy to Install” Rainbird sprinkler kit. It didn’t get installed in 2019 so a couple of weekends ago, on a lovely sunny Sunday, it was time to install it. We needed a warm day so the hose would be flexible. While I sifted more rocks on the side of the hose, Beth followed all of the instructions and set up the system in the front yard, above ground. Everything seemed to work so it was time to bury the lines late Sunday afternoon.


Getting the hose in place, about 4 inches down, required splitting the turf with a straight edge shovel and forcing the line into the opening. Although it didn’t go quickly it was going until we got to the first head which need to be 8 inches down. After fighting the first one for about 30 minutes, and having 5 more to go (and the looming existence of roots the further towards the trees we moved) Beth decided a trencher was in order. I assumed this meant the project would carry into the following weekend. Silly me – it seems The Home Depot rental department is open until 8 pm! So off we go to rent a truck and the trencher. Obviously, it wouldn’t fit in the boot of the Mini. Loading the trencher at The Home Depot using ramps took 3 people. This concerned me, I wasn’t sure if Beth and I would be able to get it back in the truck.


Getting the trencher in place in the yard was no small trick and I fired it up. Holy crap – the vibration and the fact I had to pull it back as it trenched. It also wanted to veer to the right after a few feet so it was a matter of fighting the machine and then trying to reposition its direction. It brought back bad memories of raising teenagers. Fortunately, after an hour from hell and ripping our yard up, the trenching was complete. I then had to clean the trencher and, with the help of our neighbor, Joe, we got it back in the truck. Upon returning it to The Home Depot the rental clerk, who rented it to me about 2 ½ hours earlier, asked me how it went. I said, matter of factly – “it beat the shit out of me.” I also told him that it did its job and that it was both the first and last time I would ever operate a trencher.


While I was dealing with the rental return, Beth finished installing the sprinkler system. With a few adjustments, it appears to be working just fine. (Scott’s deadpan comment to Beth was, “I love what you’ve done with the lawn.”) Beth really is amazing on the things she will jump headlong into. The baby grasses are starting to sprout in the scars where the lines went in. We have a few more things to complete to button up this project but we can add another check mark to the task completed list on the Retro Ranch website.


The other project completed that weekend was clearing the garage floor - dealing with boxes of stuff and getting rid of the pallets they were on. This project finally made it to the must do list because the Kitchen Restoration - Phase II began in May. Scott went through troves of memorabilia and stored, trashed or gave away many things. Beth went through and created a huge donation pile.  If only the donation places were open! The garage was cleaned up just in time for the new kitchen appliances to be delivered!


Stay tuned for the Kitchen Renovation - Phase II, coming soon!


Thursday, May 14, 2020

Yet Another Landscape Project – or How Beth is trying to completely wear Scott out in a single weekend!


As we look back at pictures of what the yard and gardens at the Retro Ranch looked like in our first spring at the Ranch, the transformation since then is rather amazing. 


A year or so ago, Beth hired a landscape architect to help develop ideas and plans to further enhance the back yard and gardens. The plans include a fence across the back and part of the side yard along with extensive landscape changes. Unfortunately, two things are delaying implementing these designs, the first is funding the projects and the second is the pending development on the vacant lots behind us and down the hillside. There have been plans on the books for several years to put a 4-unit condo diagonally behind the Ranch. The plans include a fence and they could possibly need a grading easement so it doesn’t make much sense for us to build a fence while this is uncertain.


This has not stopped Beth from upgrading the landscaping in other parts of the yard however. Over the last year and a half, as we removed the rocks by the driveway, we refreshed those gardens and added a plethora of delightful new plants. Another thing I need to mention about Beth’s landscaping is she likes to rearrange – continually. Each year multiple plants are dug up and moved to other parts of the yard and more get added. (Beth notes that you have to put plants where they’ll be happy and, she could have worse hobbies!)


Two weekends ago, we tackled the biggest landscaping project in some time at the Ranch. Adding compost mulch to all of the gardens and landscaping a border garden where we had removed arborvitae that were long past their prime. One of our main goals was to correct the grading on the side of the house where the roots from the now extinct arborvitae had created a drainage issue.


On Friday various deliveries were arranged. Two cubic yards of mushroom compost mulch was deposited on the street and driveway and a bit later, a multitude of trees, shrubs and other delights arrived. I knew I had my work cut out for me. The plan was to spread as much of the mulch as possible on Saturday. On Sunday, we were going to rent a tiller, which also meant renting a truck, to prepare the garden for the plants and to prep the land on the side of the house to get the grade right.


On Saturday morning it looked like Mother Nature was going to have a great laugh at our expense as the skies opened up early and the mulch mountain made a perfect dam for the rain water on the street and driveway. Fortunately, after the initial deluge, it turned into a beautiful day and I /we were able to spread the mulch over all of the garden areas except where we planned to till.


Sunday Funday logistics - As you know, truck and equipment rental is based on time. We rented a pick-up truck from U-Haul and headed to The Home Depot for the tiller and ramps. We had to have the tiller back in 4 hours (cleaned and refueled) so there was no time to waste. We had the utility companies mark where the lines were so we didn’t dig up any cables or pipes. We had also consulted with our neighbor so we could till the entire area (in her yard too) to get the grade corrected.


Arriving back at the ranch the tiller was unloaded and off we went. Multiple passes were made and we uncovered more “treasures”; roots, plastic sheeting, rocks (and more rocks) and an inexplicable metal bar and companion.


After nearly 3 hours of tilling work, the tiller was washed, refueled and returned to The Home Depot, with 20 minutes to spare. The pick-up truck was returned but the fun was not done at the Ranch. Now that the ground was tilled it was time to plant. I was beat but there was rain in the forecast for Monday so the show must go on. The trees and plants were positioned and their holes dug. After the planting the rest of the compost mulch was spread (and I collapsed.) We both felt a sense of accomplishment in a job well done.


It seems like the long-legged rats with antlers (deer) also liked what Beth had selected, as Monday morning we awoke to some of the plants having been “trimmed” by hungry deer. Beth got some “Deer-Be-Gone” spray at the garden center that seems to have stopped their noshing since.


So what’s left to do? I am in the process of screening out all of the rocks along the side of the house. We will have that completed in May so we can compete the grading work and be ready for whatever Beth has in mind for there. Phew!


Tuesday, May 12, 2020

Downspouts and Drain Lines and What the Heck Have We Been Doing?

I hope everyone reading this is staying safe and staying healthy. It’s hard to believe it’s been almost 9 months since we last posted an update on the Retro Ranch. Like most of you, the past few weeks and months have been like nothing we have ever experienced before. I have been working almost exclusively from my home office and Village Frame & Gallery is open by appointment only. We will survive (sing it Gloria!)


So what has been going on at the Ranch since last we posted an update? To be honest, for the past 5 months, not much. As this is the blog about the Retro Ranch and not Village Frame & Gallery, we won’t go into the painting of the showroom and taking care of a multitude of sins in Beth’s 100 year old shop. Frankly, we’ve just been enjoying living in the Ranch. 


Did we ever write about the downspouts and drain lines? There are 3 downspouts on the front of the house that connect to two drain lines that empty on the street. Whenever it rained, which in Oregon is frequently, they would overflow at their bases causing lots of puddles and swamps around the house foundation. We rented a power auger in the summer of 2018 and identified where the blockages or breaks were.


The line near the driveway was exposed as I removed more rock last summer. The break and previous repair were found and it seemed like it would be a straightforward repair with some 3” pipe, elbows, glue and a hacksaw. It became a bit more complicated for two reasons. The first was me breaking another section of the drain line as I dug for rocks, but also 3” drain line from the early 60s isn’t quite the same as currently available drain line. Fortunately with another 10’ of pipe and a snazzy rubber coupling I reconnected the downspout and it drained to the street. Huzzah!


The other two downspouts came off the ends of the garage, connected somewhere under the lawn and drained at the other edge of our property. I had identified a break or blockage near the street and started to dig. I found the break quickly and, now having experience in drain line repair, it was quick and easy. Two rubber couplings, a leftover section of pipe and we were back in business. Easy-peasy.


As our long-time reader(s) know, nothing is ever easy at the Ranch. Seems there was another break about 3 feet back. As this was near an above ground utility box I dug carefully. I exposed the break and found it was caused by whatever utility contractor had buried a line in white plastic conduit, right through our drain line. Well sh*t! I put in a call to locate the utility lines so we could determine who to go after. It wasn’t Northwest Natural as it wasn’t a gas pipe. Century Link’s lines were in back of the house, PGE’s electric lines were elsewhere and Comcast marked their’s going a different direction. So whose line was it? A supervisor for the utility marking service came out and met me and we cut a small hole in the white conduit. Turns out it was the main Comcast trunk line for the neighborhood.


If you have ever had to call the cable company to get something fixed you know my dread about trying to deal with this. Amazingly, after navigating their phone system from hell I found an intelligent and helpful human who arranged for someone to come have a look, they did. Another call a week later actually resulted in them confirming that, “Yes it was indeed their issue.” They sent out a repair contractor to fix the break, who, upon reviewing the situation decided to replace the drain line and reconnect the adjacent line all the way back to the house with minimal damage to the yard. The front of the house has drained properly since then for the first time in likely decades. Now we get to figure out the issues with the backyard drain lines. Oh joy!


We will write again soon - there are landscape projects and the last phase of the kitchen restoration begins in 7 days. Meal prep and dishes will be relegated to the patio or garage. Not sure where the coffee maker will call home for two months. First world problems to say the least.


Stay safe and stay healthy!